Insights and Analytics for CLFP
- 1. Overview of the process
- 2. Ensure you have a SIMS-ID account
- 3. Activating the Insights and Analytics application in the SIMS-ID
- 4. Setting up the People Service
- 5. Configuring SIMS Services Manager to extract SIMS and FMS data from your school
- 6. Approve which staff are to have access to CLFP in SIMS-ID
- 7. Remaining CLFP settings before you get started
- 8. Feedback on this article and the onboarding process for CLFP
Setting Up Insights and Analytics for Curriculum Led Financial Planning
Overview of the process
- Ensure you have a SIMS-ID administrator account, or a colleague who does
- Activating the Insights and Analytics application in the SIMS-ID Tile Store
- Setting up the People Service (if not already done for other SIMS Online Services)
- Configuring SIMS Services Manager to extract SIMS and FMS data from your school
- Approve which staff are to have access to CLFP in SIMS-ID
- Complete school specific settings in CLFP and start using the dashboards
Ensure you have a SIMS-ID account
After you sent your contract back, we will check if your school is setup with SIMS-ID and whom the SIMS-ID administrators are. If you are already using SIMS-ID, we will inform you of your school’s SIMS-ID administrators. If your school is not setup with SIMS-ID, then we will activate this for your school and provide you with the first SIMS-ID administrator username and password. Please expect to hear from us with your SIMS-ID status and relevant information.
Your school will be setup with SIMS-ID if you are using any of the following SIMS products:
- SIMS Pay
- SIMS Parent
- SIMS Parent Lite
- SIMS Activities
- Options Online
- FMS Making Tax Digital
- SIMS-ID for o365, Google or Microsoft Teams
- Hosted SIMS7
Activating the Insights and Analytics application in the SIMS-ID
Log into SIMS-ID at https://id.sims.co.uk with an administrator account:

Experiencing trouble with logging into SIMS-ID, please see this article
Once logged in, from the launcher window, click on the Tile Store widget:

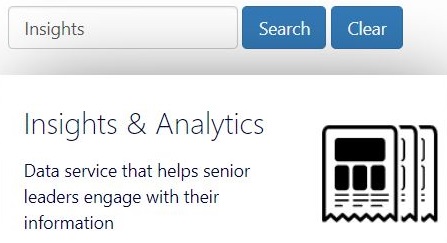
From the top menu bar, now select Available Applications. You can can now use the search facility to locate the Insights and Analytics Tile:
Click on the green Install button at the bottom of the tile:
You will now be asked to agree to the GDPR Statement. At this step you can review all the additional information for CLFP:
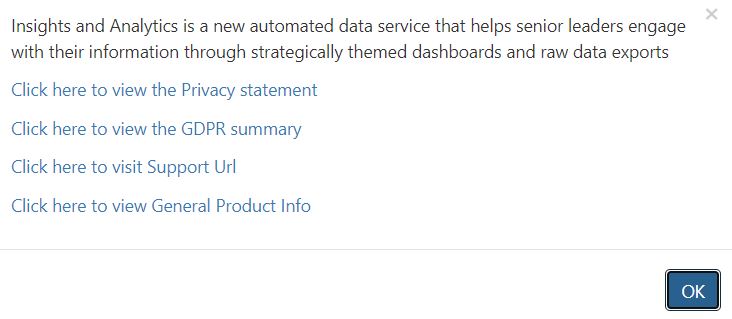
Once satisfied with the GDPR statement and information, click on OK
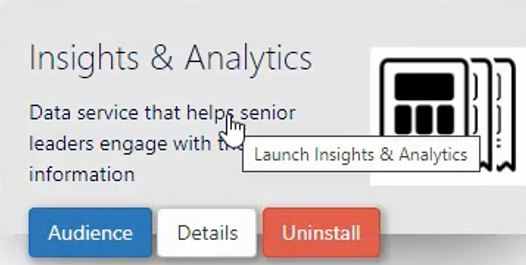
It can take a few minutes for the tile to install. Please do not refresh or navigate away from this page during this process. Once complete, you will be returned to the Insights and Analytics tile.
Setting up the People Service
Enabling the Service
After the install when the Insights and Analytics tile is complete, click on the tile (not any of the buttons associated with it), this will now open the People Service window:
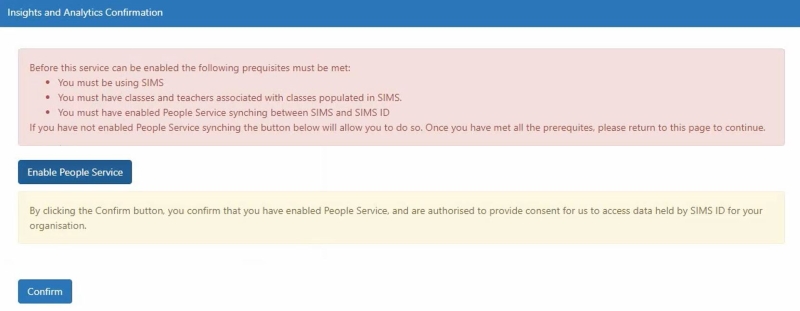
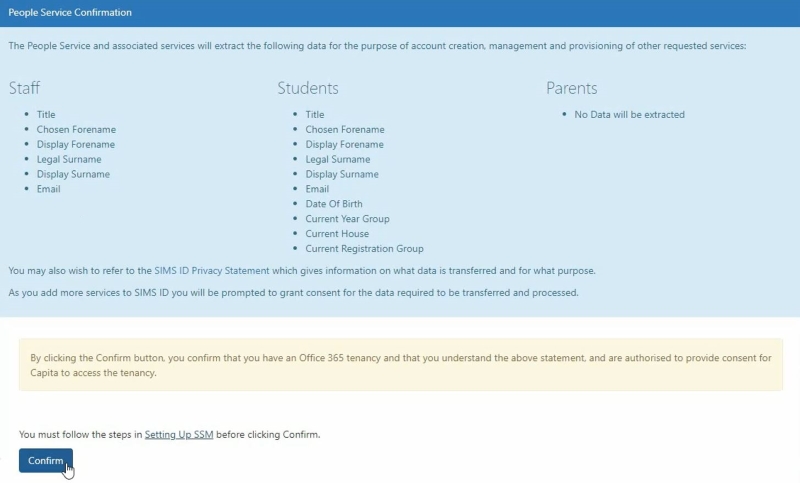
Click on the Enable People Service option if present. SIMS-ID detects if this service is already enabled for your school, so if the button is not present, then please jump to the Managing the Client ID and Secret Codes. You will now be asked to confirm you accept the People Service details:
Managing the Client ID and Secret Codes
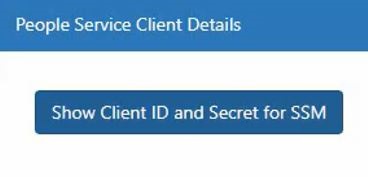
Once confirmed and the service is automatically configured for this step, you will then be presented with the option to reveal your Client ID and Secret codes. You will need to copy these into Notepad or a document for pasting into SIMS Services Manager at a later step. Click on Show Client ID and Secret:
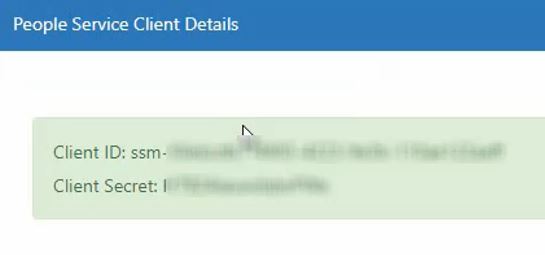
Your window will now present the two codes, (the image below has had them obscured for this article). Copy these into Notepad or a document for reference later on:
Configuring SIMS Services Manager to extract SIMS and FMS data from your school
Installing the Insights and Analytics SSM Packages
Once logged into SSM for your school, please click on the Manage Packages button:

From the list of packages available for install, tick both of the following:
- Insights and Analytics FMS Client
- Insights and Analytics SIMS Client
Click on the Install Selected button:
You will be presented with a Applying Choices information window, please click on Close.
Configuring the Insights and Analytics packages with your Client ID and Secret Codes
Now that both Insights and Analytics packages are installed, we now need to add in the Client ID and Secret codes you obtained from earlier on.
FMS Package Configuration
Starting with the Insights and Analytics FMS Client package, click on the blue school selector button on the right hand side:

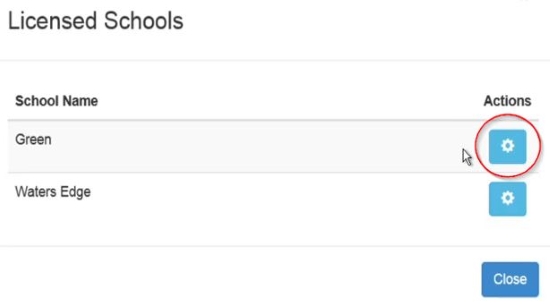
From the list of schools configured (which may be just your school), click on the blue configure button on the right:
You will now be required to enter the:
- Client ID
- Secret Code
- FMS Server Name
- FMS Database Name
- FMS Database User Name
- FMS Database Password
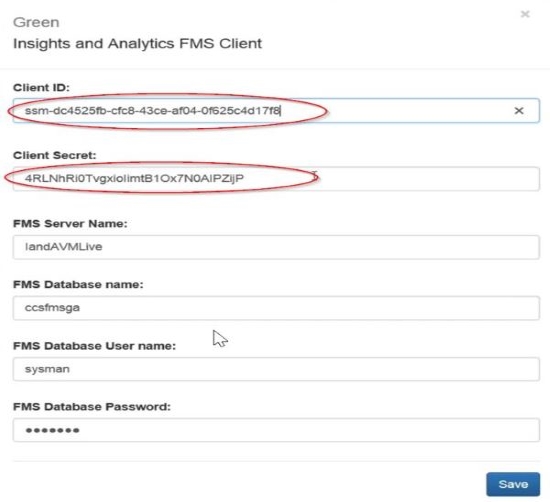
Once entered, click on Save. This will return you to the list of packages installed in SSM.
SIMS Package Configuration
In the exact same way that you configured the FMS package, repeat this for the Insights and Analytics SIMS Client package. You will use the exact same Client ID and Secret Codes for SIMS as you did FMS.
Once entered, click on Save. This will return you to the list of packages installed in SSM.
Approve which staff are to have access to CLFP in SIMS-ID
Access to CLFP is controlled in SIMS-ID, this is necessary because CLFP is an online service and we cannot use the same SIMS and FMS usernames and passwords that are saved in your schools SQL Server. If you have allowed time for the data to synchronise as indicated in the previous step, then SIMS-ID will be populated with your staff and you can simply pick and choose who is to have access.
Adding Members to the Senior Leadership Group
Once signed into SIMS-ID locate and click on the Preferences tile:

Locate the name of the school you want to manage and on the right hand side click on the blue Manage button:

From the top menu bar, locate User Preferences and click on this to reveal the other menu items:
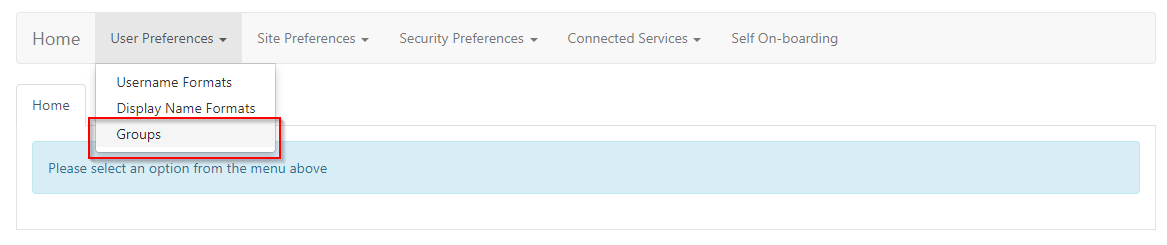
Select the Groups option. You will now be presented with a list of groups for your school. Search for the Senior Leadership Team group.

Once located, under the Options column there are four buttons, click on the blue Members button:

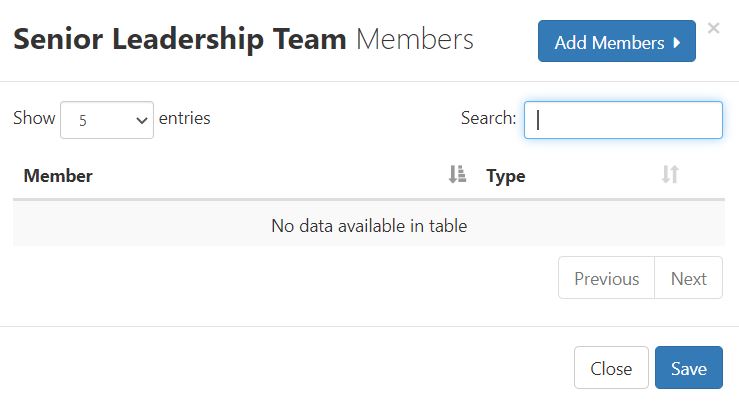
You will now be shown a list of any users that have been added to this group, it may well be blank if you are new to SIMS-ID. To add in the users you want to have access to CLFP, click on the Add Members button in the top right corner of this window:
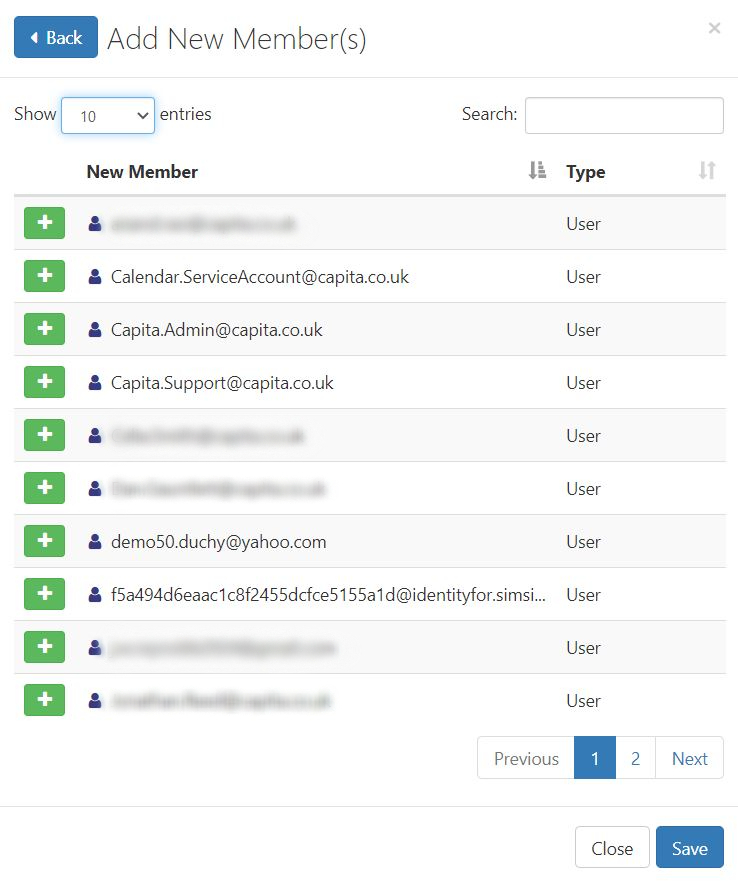
You will now be presented with a list of people from your school, this would have been extracted from SIMS via the People Service you activated earlier on. You can search the list as required to locate the user you want to access CLFP. Once located, click on the green Add button next to their name:
If you have more than one user to add, continue searching for them and repeat adding them to the group. Once you have done this, click on the Save button in the lower right of the window. You will now be presented with a confirmation screen:
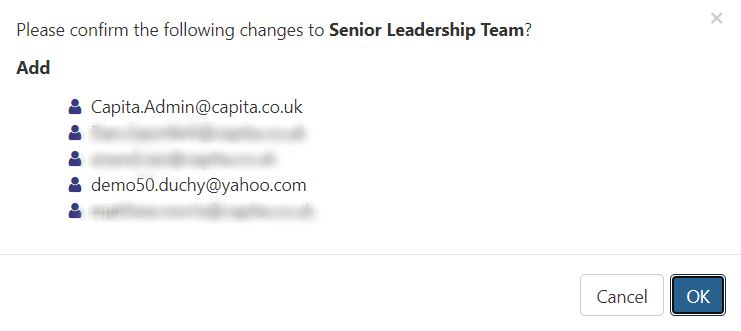
Click on OK to confirm and then OK to complete this step. If you want to double check the members of the Senior Management Team at any point, you can return to the page you are now on and click on the Manage Group Members button to review the group.
Activating your SIMS-ID Account
If you are already using SIMS-ID and the users you have added to the Senior Leadership Team are already using SIMS-ID for other services, then they can visit the CLFP webpage and login.
If you are new to SIMS-ID, or there are new users who will need access to CLFP, then you will need to circulate to these new users their SIMS-ID usernames and passwords. Initially SIMS-ID will create all people extracted from SIMS via the People Service a temporary SIMS-ID username (in the form of a temporary email address) and password. It’s best to change the user’s temporary username (email) to one that is related to the school. Once this is done you can either get the user to log into SIMS-ID and preform the reset password process, or inform them of their temporary password, in both cases they will need to set a new password. Full detail on how to do this is in the following support articles on the SIMS-ID website:
- Editing usernames in SIMS-ID
- Finding a users initial username and password
- Resetting a users password
Remaining CLFP settings before you get started
Now that you have access to CLFP, there will be a few final steps you need to complete before your dashboards are up and running.
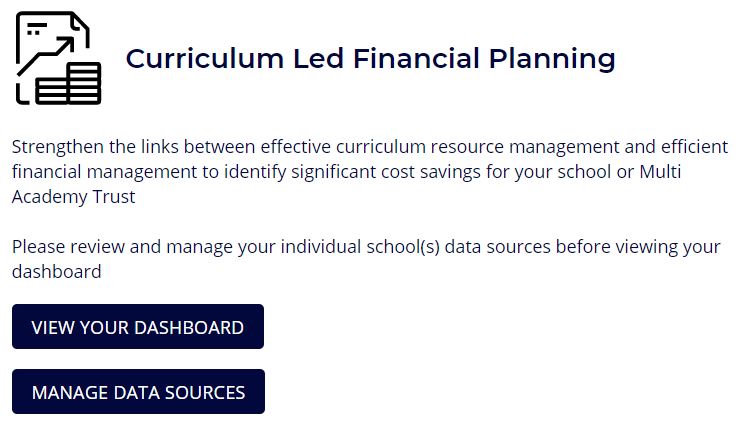
- Log into CLFP at https://insights.capita-sims.co.uk/
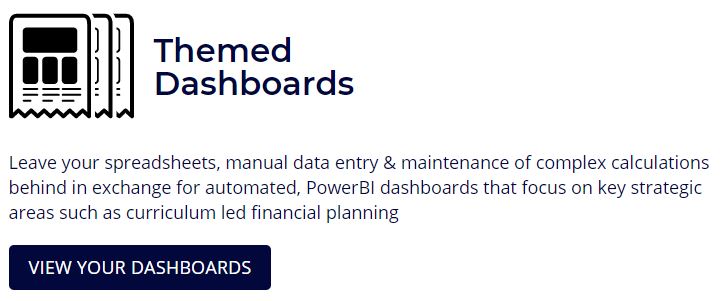
- Select View Your Dashboards:
- Select Manage Data Sources:
- Select Review Data or Data Not Yet Available (this will depend on the status of your data):

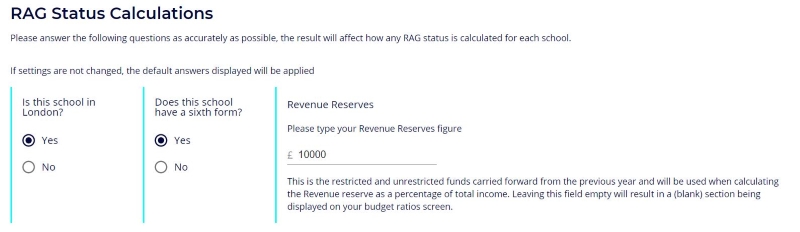
- Under the RAG Status Calculations you will need to set if your school is in London? Yes or No, if your school has a sixth form? Yes or No and what your Revenue Reserves are:
- You must then scroll to the bottom of the screen and tick the option I have reviewed the data and confirm that it is accurate and complete and then select Submit Confirmation:

- Now scroll to the top of the window and click on Back and then Back again where you will then have the option to View Your Dashboard
Feedback on this article and the onboarding process for CLFP
Insights and Analytics - Curriculum Led Financial Planning is a new product for us, steps have been taken to make onboarding as simple as we possibly can. However we know there will be bumps in the road. We would love you to tell us how the process went for you, want was easy, what was complicated or where you needed help. If you share that with us, then we can see how we can improve things to make it better for other new users. Please contact the Product Manager for CLFP, Paul Featherstone via email paul.featherstone@capita.com.