Onboarding Microsoft SDS for Teams
- 1. Self on boarding the Microsoft School Data Sync Service
- 2. Before you can Self Onboard SDS data exchange.
- 3. The School Data Sync Self Onboarding Process
- 4. Accessing the Tile Store
- 5. Configuring the Link Office365 SDS application
- 6. Configuring the profile in the Microsoft School Data Sync Admin Centre (Office 365)
- 7. Keeping your data up to date
Self on boarding the Microsoft School Data Sync Service
Microsoft School Data Sync and SIMS ID
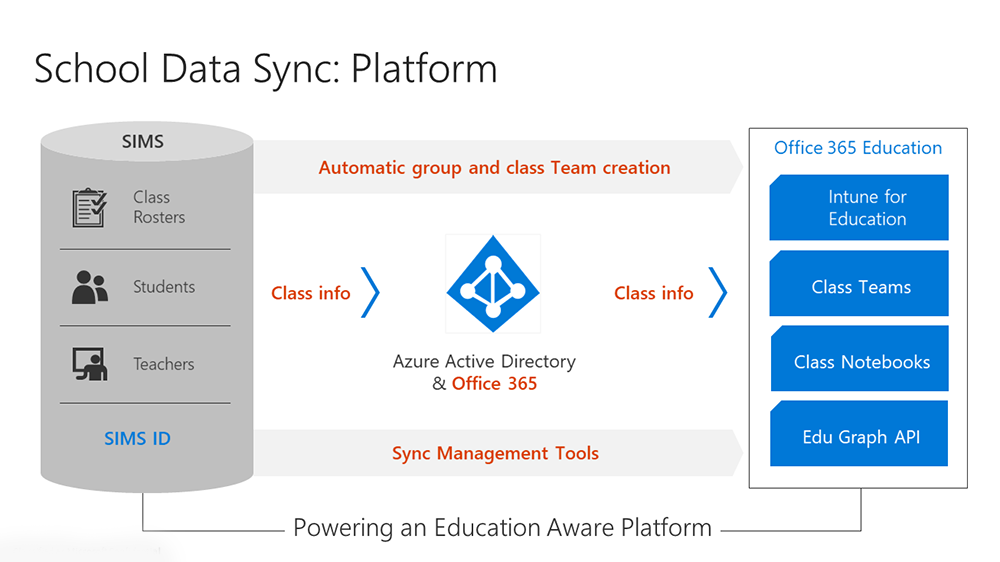
Simplifies class management in Office 365. School Data Sync reads class, group and user data from SIMS ID and creates classes and groups for Microsoft Teams and Intune for Education.
If you wish to know more about what can be achieved with Microsoft Teams for Education you may want to read Microsoft's Education Blog and the announcement of the next wave of innovation for inclusive and collaborative learning
SIMS ID and SDS powering an Education Aware Platform
Before you can Self Onboard SDS data exchange.
Before starting an SDS self-onboarding you will need:
- a SIMS ID site that has been configured to manage your Office 365 tenancy.
- A Global Admin account for your Office 365 Tenancy
The School Data Sync Self Onboarding Process
The process is designed to allow you to stop midway through and pick up the process at a later date. However, it is a short process and may be carried out in one session.
Getting started
Like all application installs this task is initiated from inside the Tile Application Store.
For full information on using the Application Tile Store please see Using the Tile Store an Overview
Accessing the Tile Store
Login to SIMS ID https://id.sims.co.uk as a Local Site Administrator,
The Tile Store is accessible via the Tile Store tile on the Launcher Page of SIMS ID. Only admin users will have access to this tile.

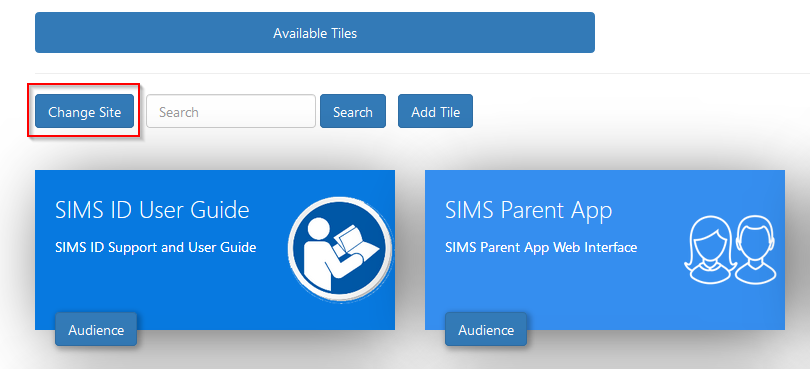
If you have admin access to more than one site, when you access the tile store you will be taken to your primary sites Tile store first, if you want to change sites click on the "Change Site" button at the top or the page and a list of available sites will open within the page allowing you to select the site you wish to manage.
Finding the 'Office 365 SDS' application
A search facility is available on the Tile Store screen to help quickly locate tiles you are looking for. Search for 'Office 365 SDS'

Checking the application
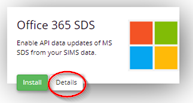
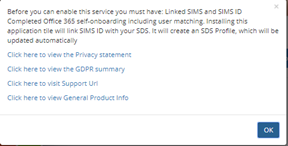
On the Application, there is a Details button. Clicking this button will provide you with information about the application. Included are links to the applications:
- Privacy Statement
- GDPR data transfer summary
Support Page
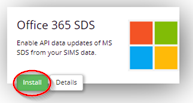
Installing the Office365 SDS Application
To install an application, click on the green Install Button on the tile.
The next screen will inform you that you will agree a GDPR statement later in the process.
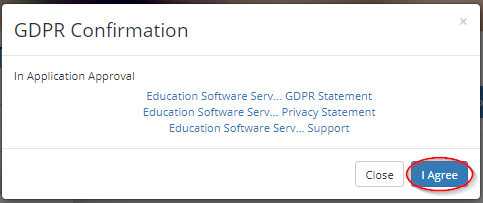
Click I agree.
Once installed the Office365 SDS application becomes available on the *Available Tiles screen. You will be taken to this screen.
Configuring the Link Office365 SDS application
To configure the application, click on the 'Office365 SDS' application tile.
Confirming access to your tenancy
You are required to confirm that you wish to have SIMS ID create SDS Profiles and transfer the necessary data
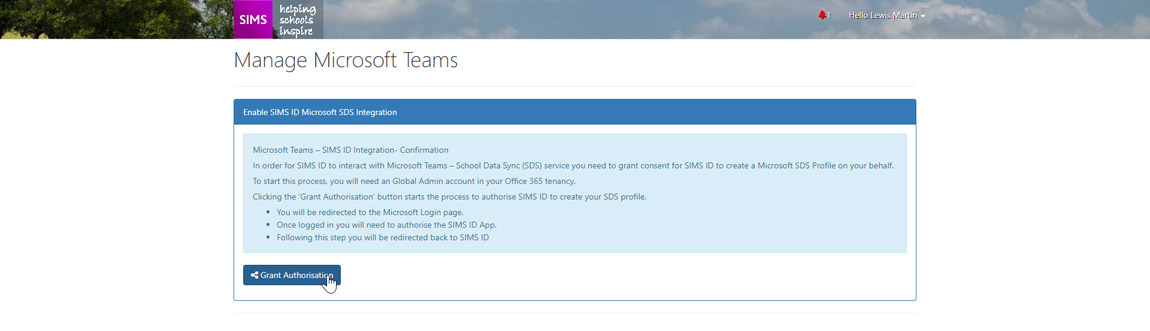
When you have read the text and are happy to proceed please click the blue Grant Authorisation button. You will be taken to your Microsoft Tenancy login page.
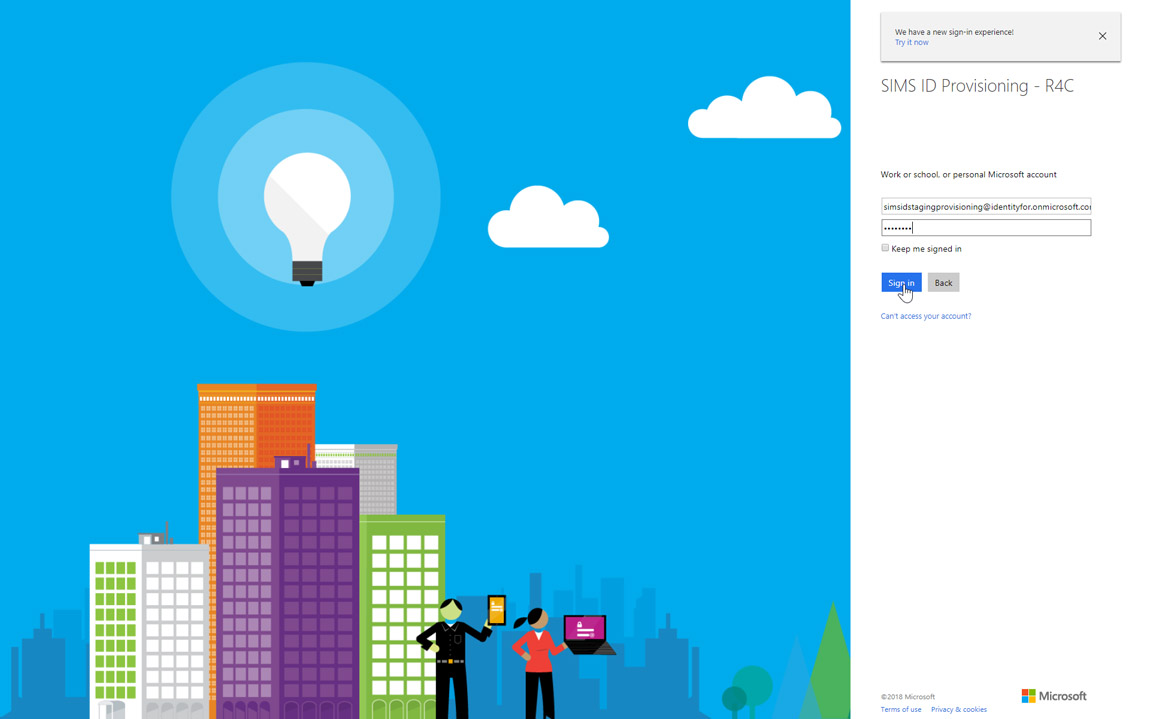
Please sign in using a Global Administrator's credentials
- School Data Sync License
- Azure AD Basic Education
- Microsoft Azure AD Rights
All of these are part of the A1 Faculty Licence. You can either add the specific licences or just grant the entirety of the A1 Faculty License.
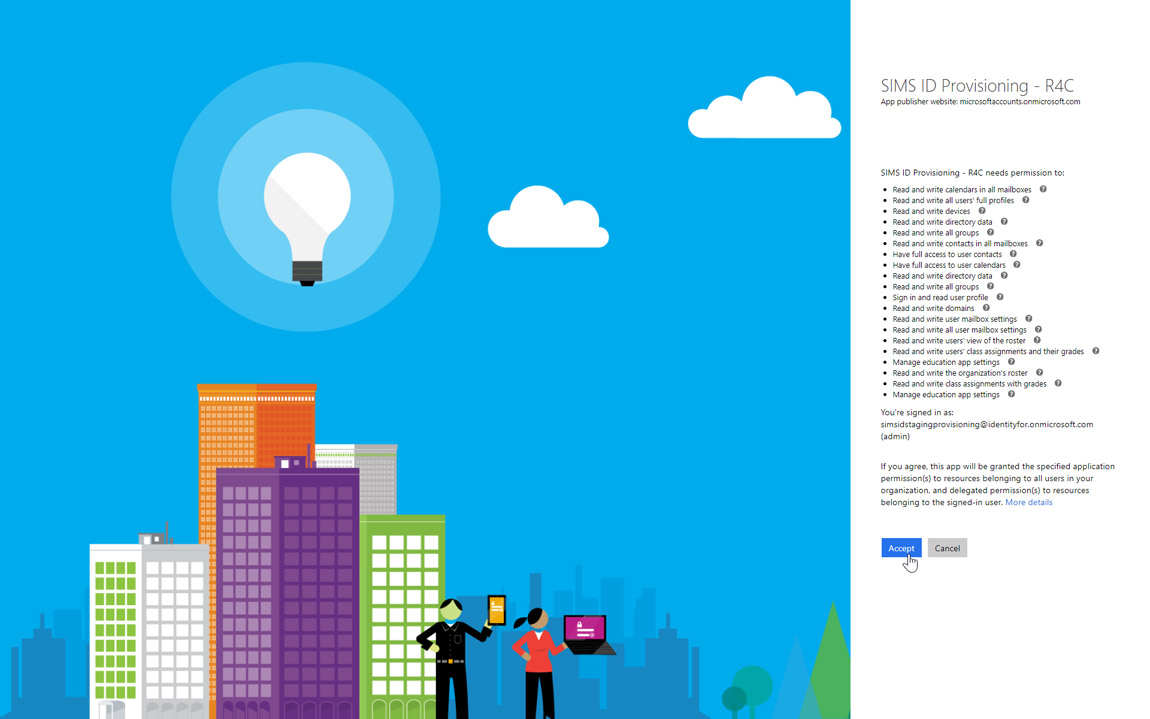
Once signed in you will need to review the permissions and authorise the SIMS ID Applications Permissions by clicking on the Accept button. You will then be returned to SIMS ID.
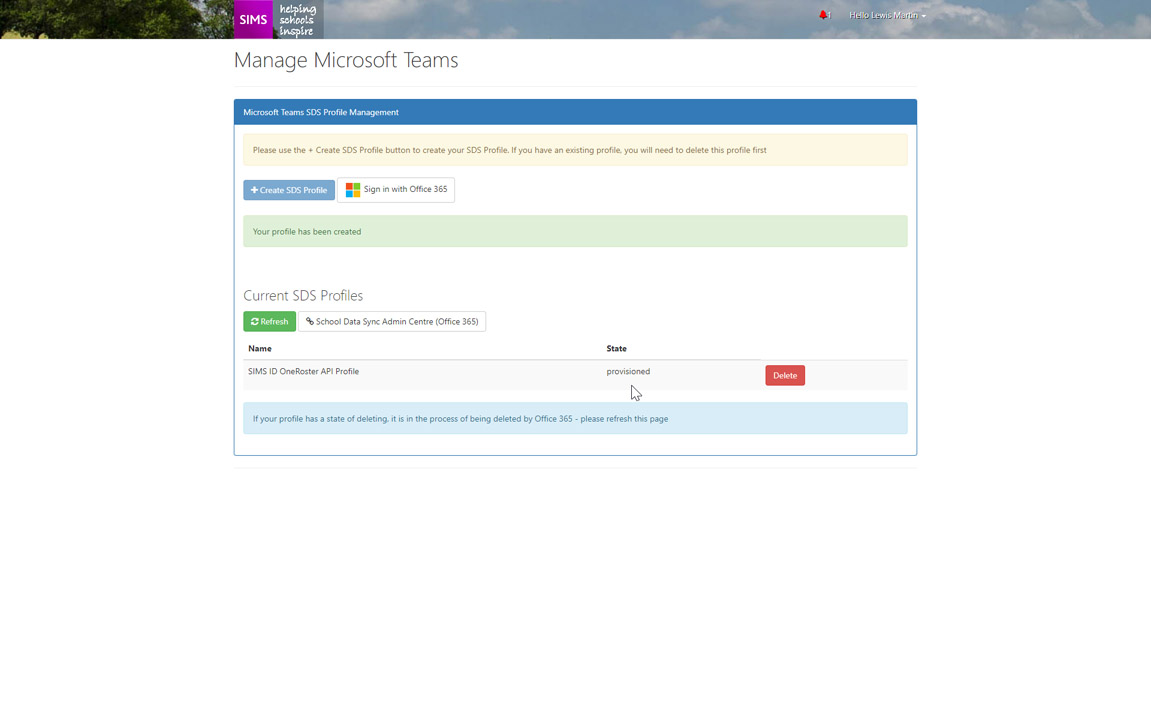
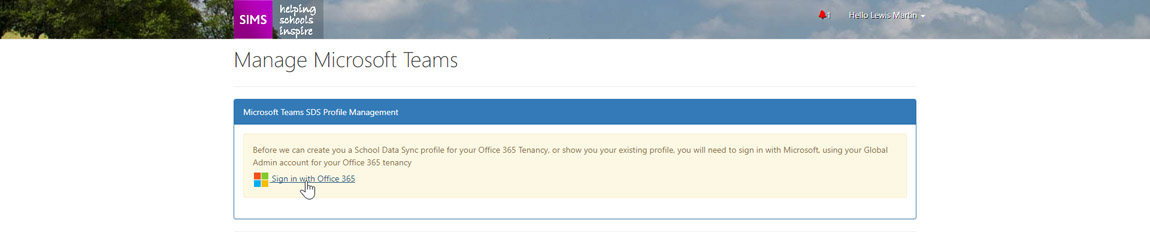 On this page, you will need to click on the Sign in with Office 365 link.
If you are carrying out this process in one session you may not be prompted for credentials. If you are prompted to sign in please use the credentials you used in the step above.
On this page, you will need to click on the Sign in with Office 365 link.
If you are carrying out this process in one session you may not be prompted for credentials. If you are prompted to sign in please use the credentials you used in the step above.
You will now be taken to a page to authorise SIMS ID to provision SDS Profiles.
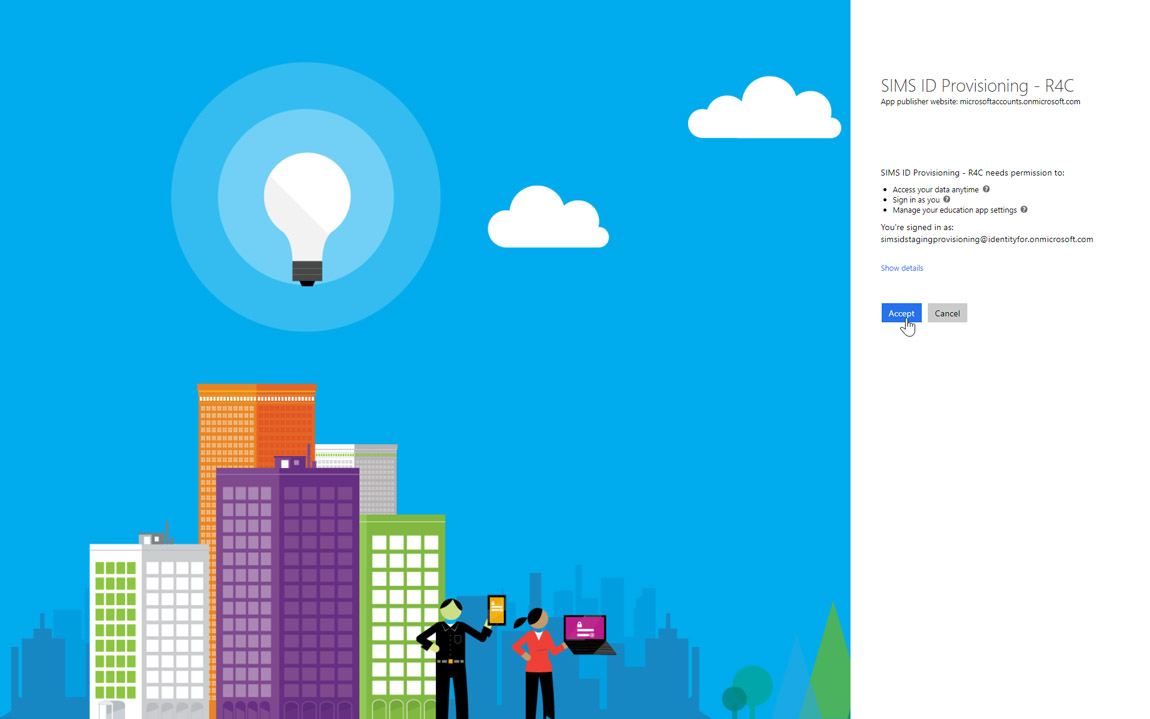
Read the information and if you wish to proceed please click the blue Accept button. You will then be returned to SIMS ID
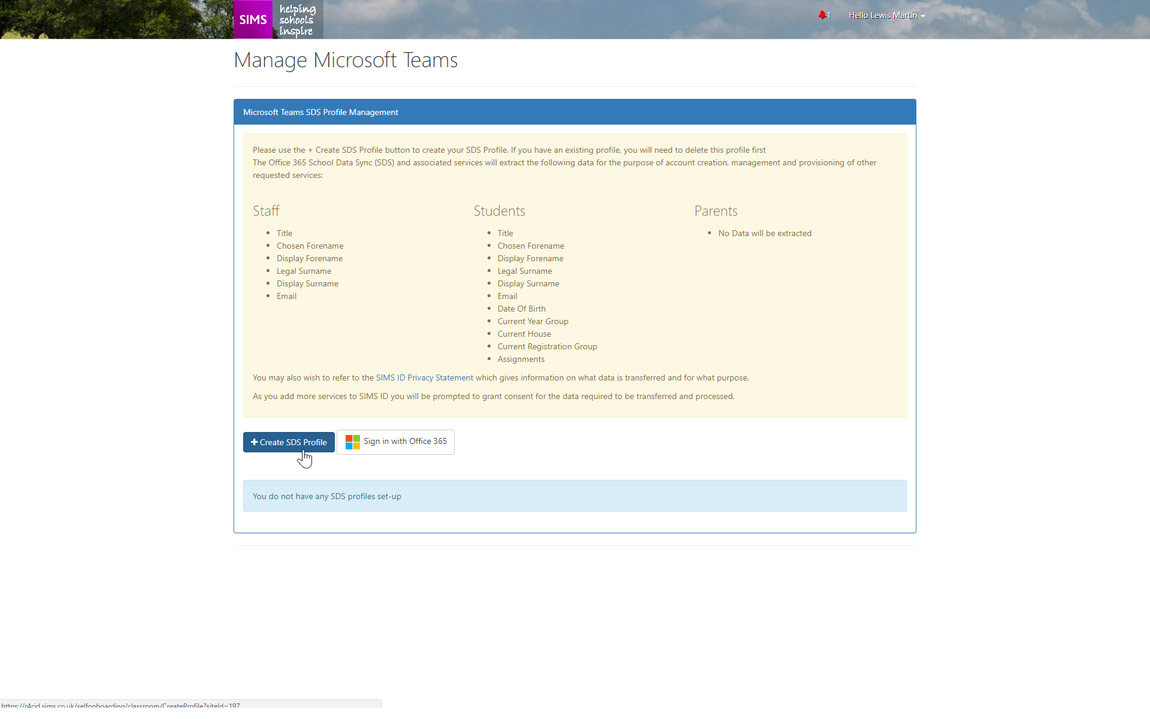 This page details what data will be provided from SIMS to the SDS profile service.
If you consent to this data being transferred please continue by pressing the blue Create SDS Profile button.
This page details what data will be provided from SIMS to the SDS profile service.
If you consent to this data being transferred please continue by pressing the blue Create SDS Profile button.

A popup confirmation panel will appear confirming you wish to create an SDS Profile. Please click the OK button if you wish to proceed.
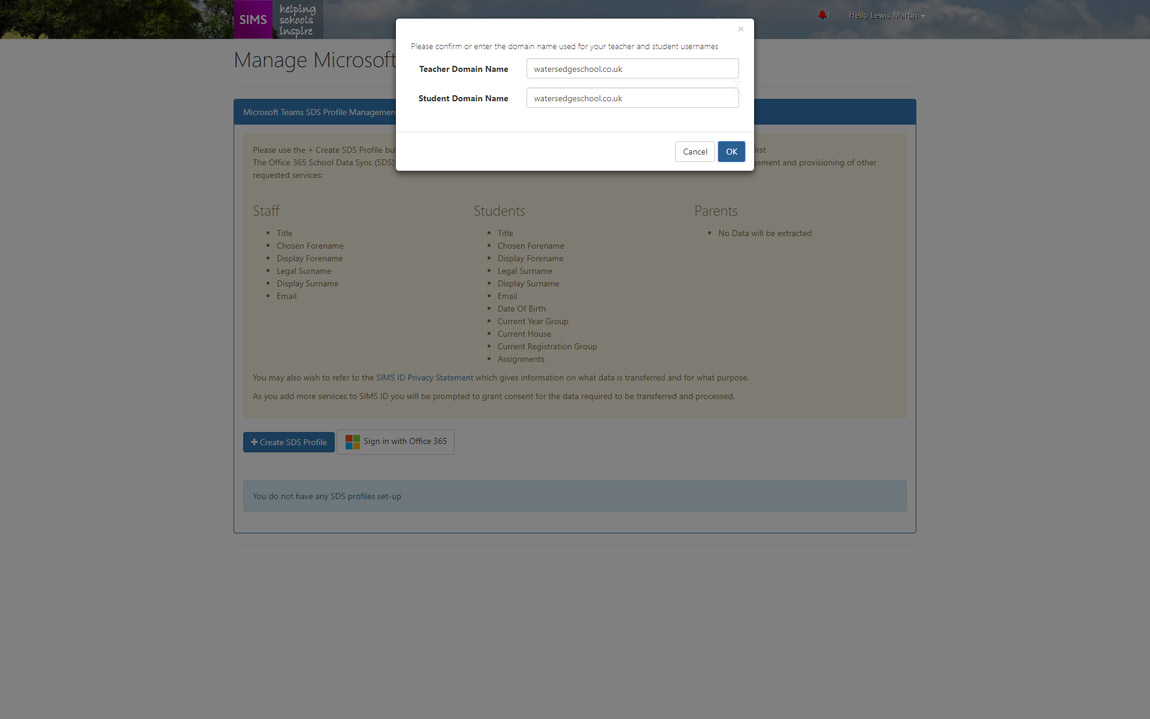 Now confirm the mail domain used in your office 365 tenancy for staff and students - we will pre-populate this where we have the information. Then click the OK button
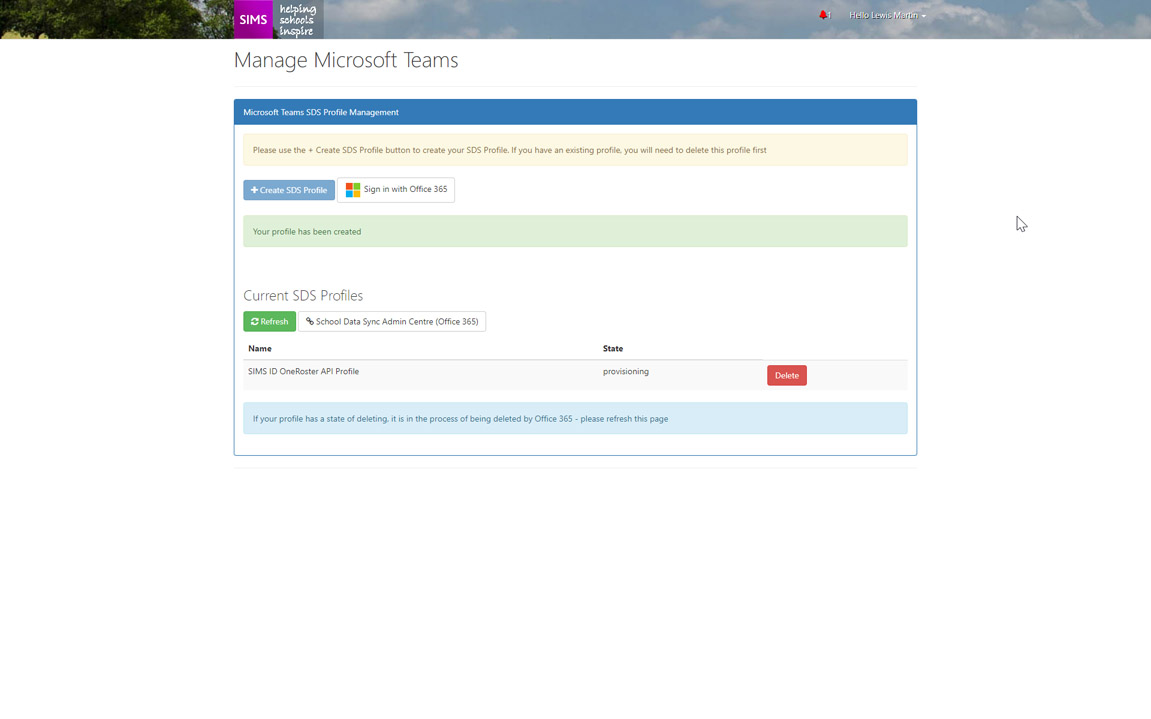
You will now receive a notification that the Profile is being provisioned.
Configuring the profile in the Microsoft School Data Sync Admin Centre (Office 365)
If you click on the School Data Sync Admin Centre (Office 365) button, this will launch the SDS Dashboard in your Office 365 tenancy.
Once you have created the SDS profile you will need to edit it to remove the necessity for term start and end dates to be provided ( this is a new MS requirement and is not currently supported)
Removing Term start and end dates
To remove the need to supply term dates
You will need to click on your SDS profile in the left-hand navigation and click Edit
Expand the Section properties
Then remove the tick against Term start date and Term end date
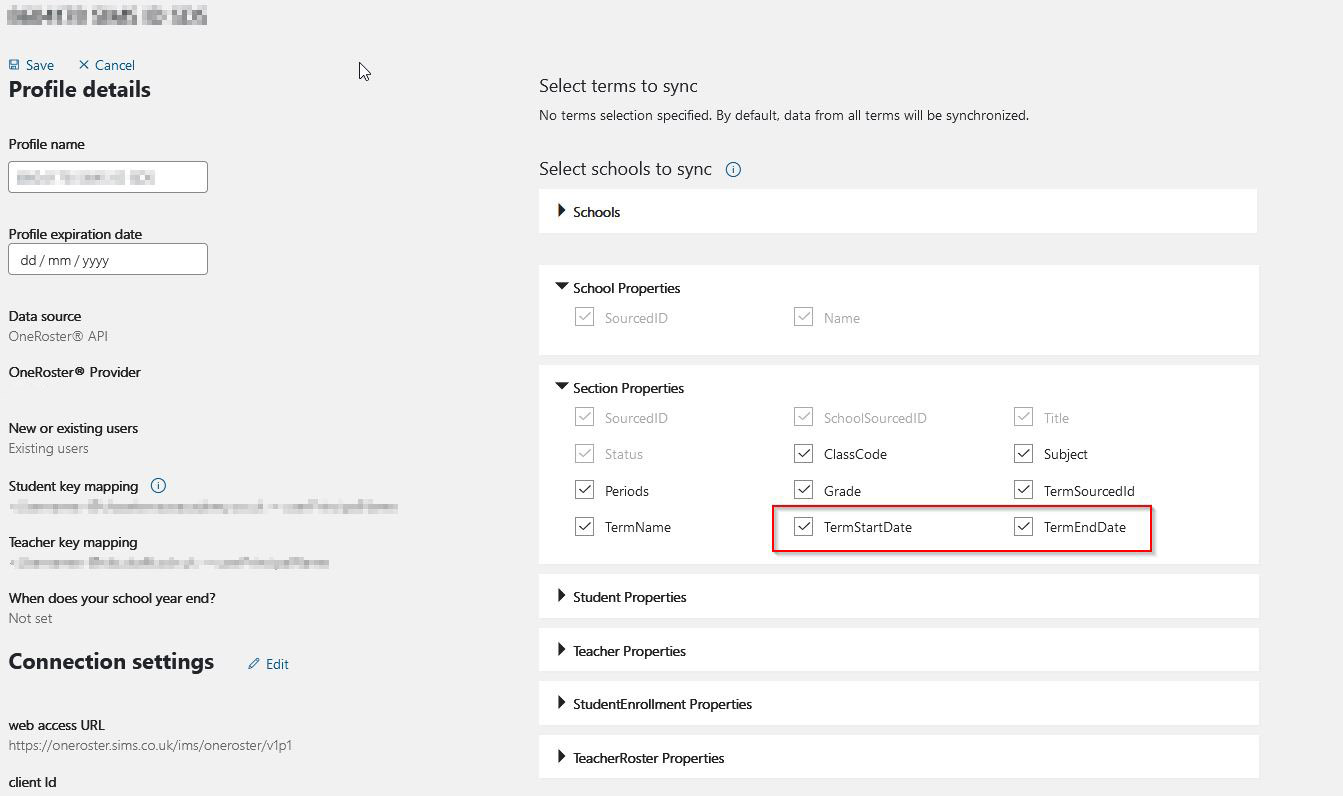
Now press the Save Button.
For this to take effect press the Sync Button
Your SDS profile is now configured.
Checking the SDS provisioning status.
The OneRoster profile page will allow you to check your SDS provisioning status.
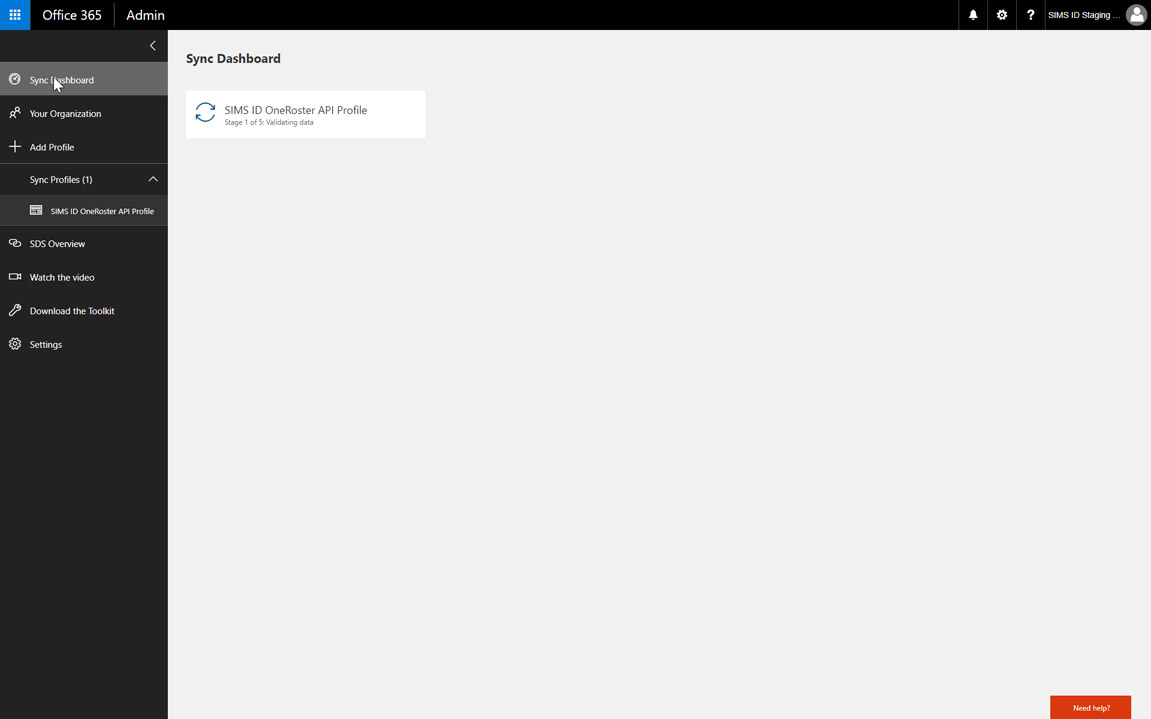
When provisioning has completed. SIMS ID will provide a 'Provisioned status'
As will the SDS Dashboard in your tenancy.
From within the SDS Dashboard you can view information on your SDS Profile
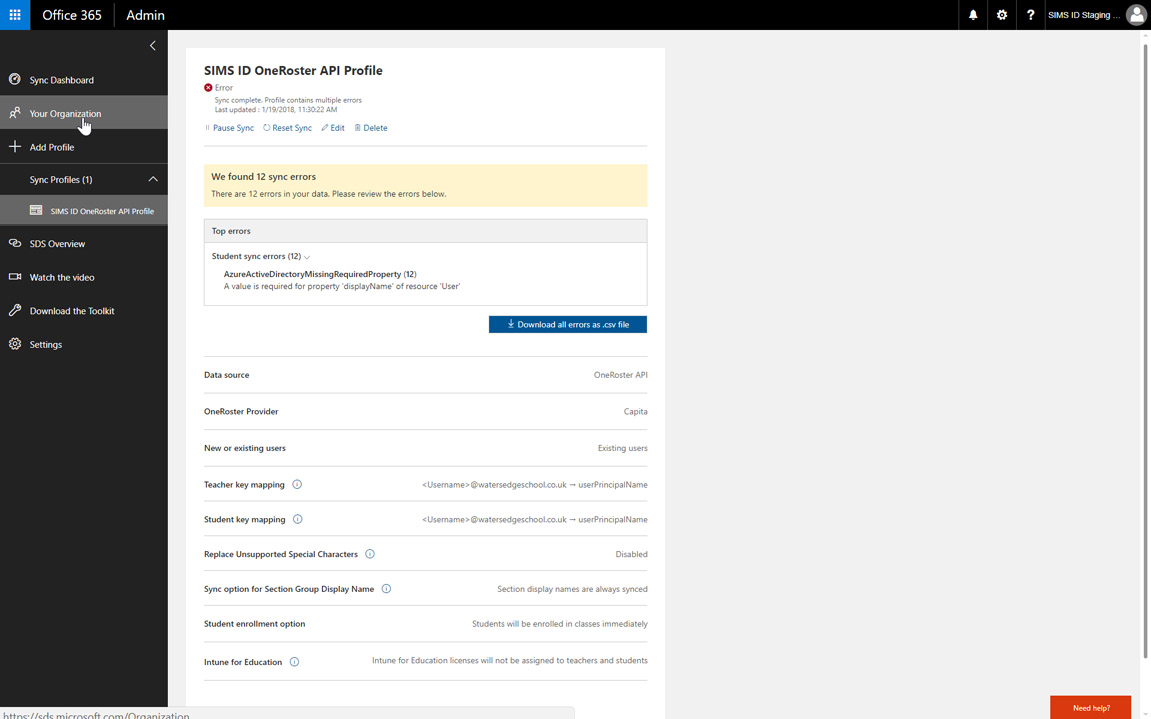
This includes any data issues or errors.
![]()
To view the transferred data you can click on Your Organization in the left-hand navigation You can then click on SIMS ID OneRoster API Profile Finally, click on View Sections, Teachers and Students
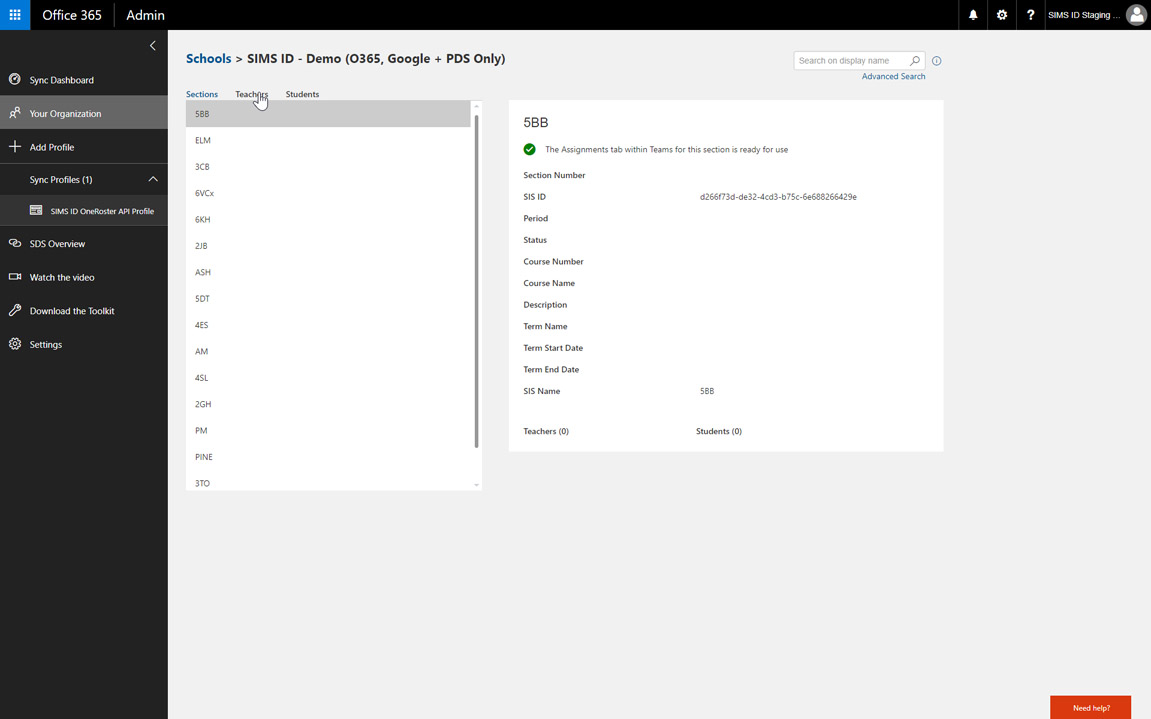 The Sections tab shows, classes, registration groups, houses etc.
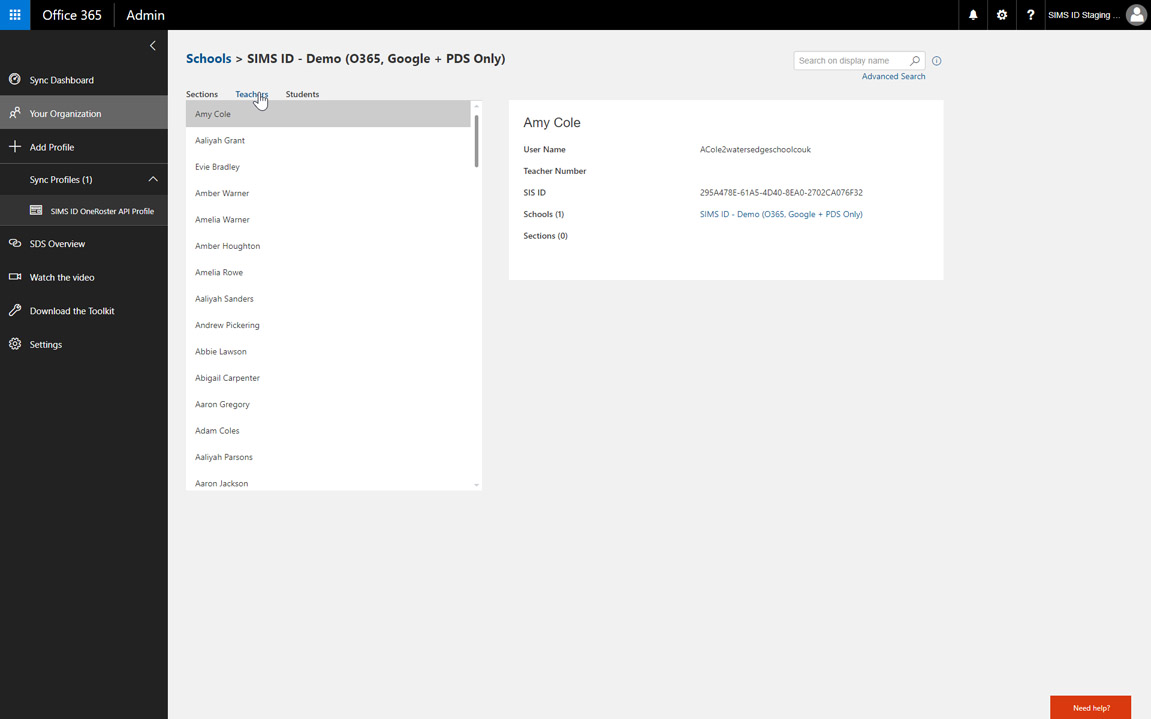 The staff tab shows - teachers
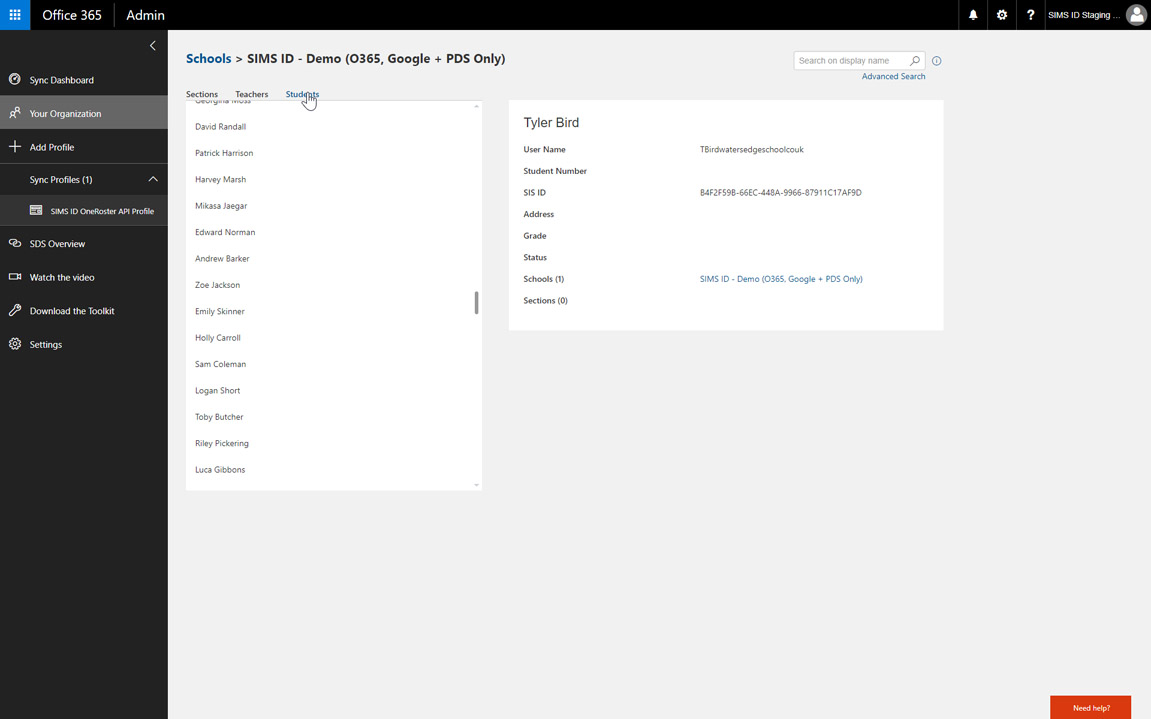 The student's tab show students
Keeping your data up to date
As you make changes in SIMS, these changes will be reflected in the SIMS ID IMS Global One Roster API endpoint that is available to the Microsoft SDS service. Microsoft contact this endpoint periodically to update your SDS. If you wish to manually initiate a sync this can be done from within the Microsoft SDS Dashboard. It is not necessary or advisable to delete and recreate the SDS profile.
Errors in the SIMS ID OneRoaster API Profile sync report usually fall into one of the below issues.
- Users exist in both SIMS ID and Office 365 ; ensure the self on-boarding process has been completed for these users.
- Users exist in SIMS ID but not Office 365 ; provision the user into Office 365 and complete the SIMS ID self on-boarding process.
- Users exist in Office 365 but not SIMS ID ; run an MIS re-sync https://id.sims.co.uk/support/wiki/104/mis-data-sync , if the user still does not appear in SIMS ID please log a call with the ESS Service Desk
- Users exist in Office 365 but are marked as deleted ; ensure the users are marked as deleted in SIMS ID / SIMS and run an MIS re-sync