Working with OneNote and SIMS
Using Microsoft OneNote with SIMS Assessment Manager.
Getting Ready
Step 1: Onboarding
The minimum requirements are that you have a SIMS ID site that is linked to your instance of SIMS using SSM to create Pupils and Staff member accounts and have issued SIMS ID logins to teaching Staff.
For full details please refer to:
Step 2: Obtaining Class Notebooks for OneNote
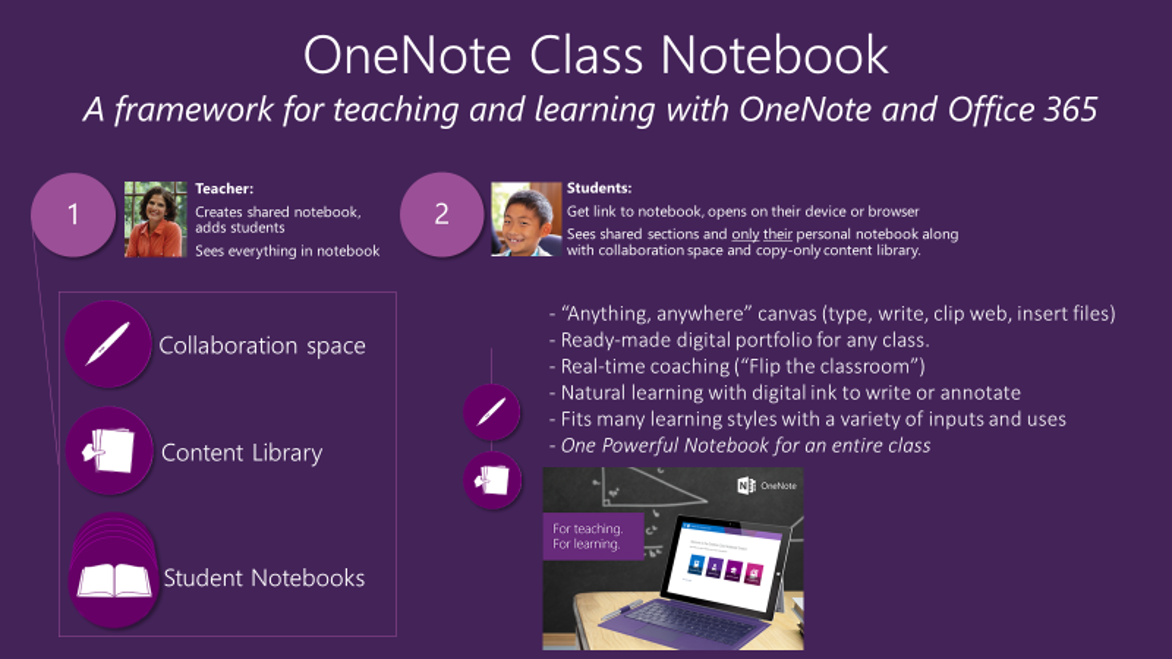
OneNote Class Notebooks make class collaboration a snap
- Class Notebooks create spaces automatically for private notes, class wide notes and communication between teacher and student
- Organize course content
- Create and deliver interactive lessons
- Collaborate and provide feedback
- Works with staff and colleagues just as well as with students
To use Class Notebook you will need to create a Class Notebook using your education verifies Office365 tenancy email address. Start by signing into the Microsoft OneNote Class Notebook site
From this site you can create and manage class notebooks and also download the Class Notebook plugin for desktop versions of OneNote.
Support details for the OneNote Class Notebook plugin are available here
Step 3: Setting up Assignment write back
Establishing a connection.
From within your chosen Class Notebook (online version) or Notebook version that has the Class Notebook Plugin enabled.
Click on the connections icon on the Class Notebook Tab

Now click on the Class Notebook connection option that appears

A Manage Connections dialogue box is presented
Choose ESS SIMS from the dropdown and press Sign In
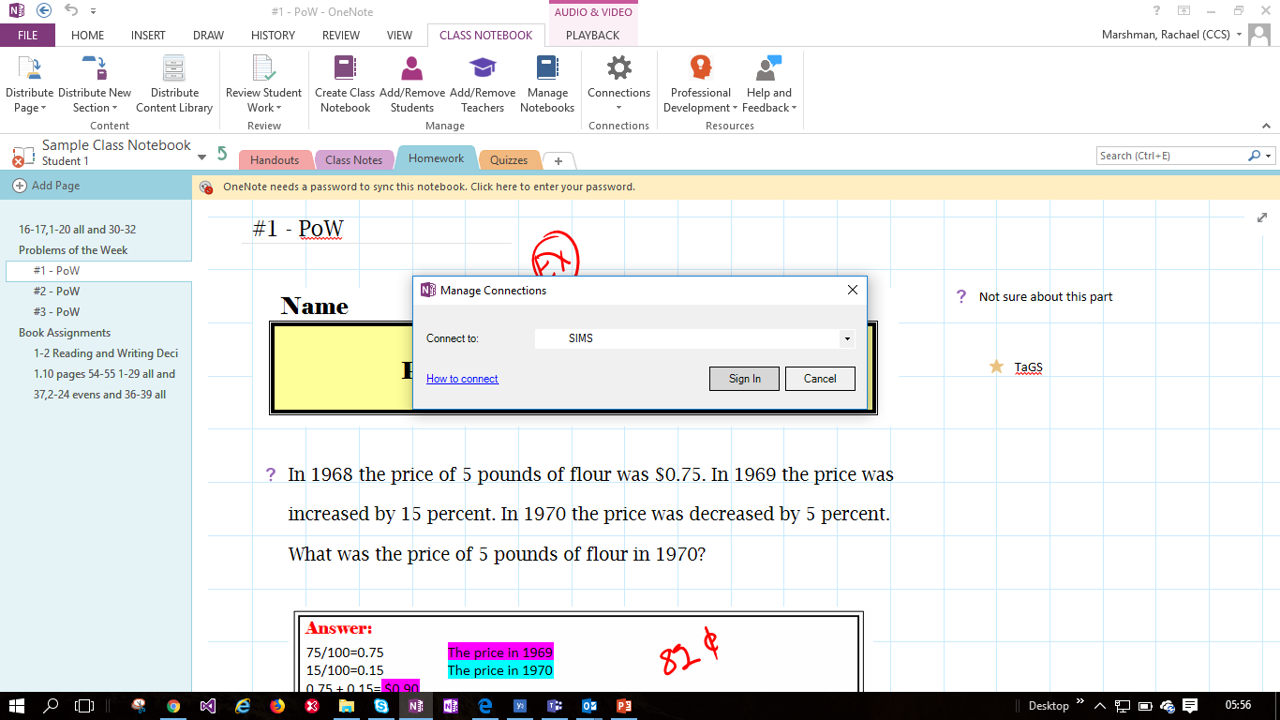
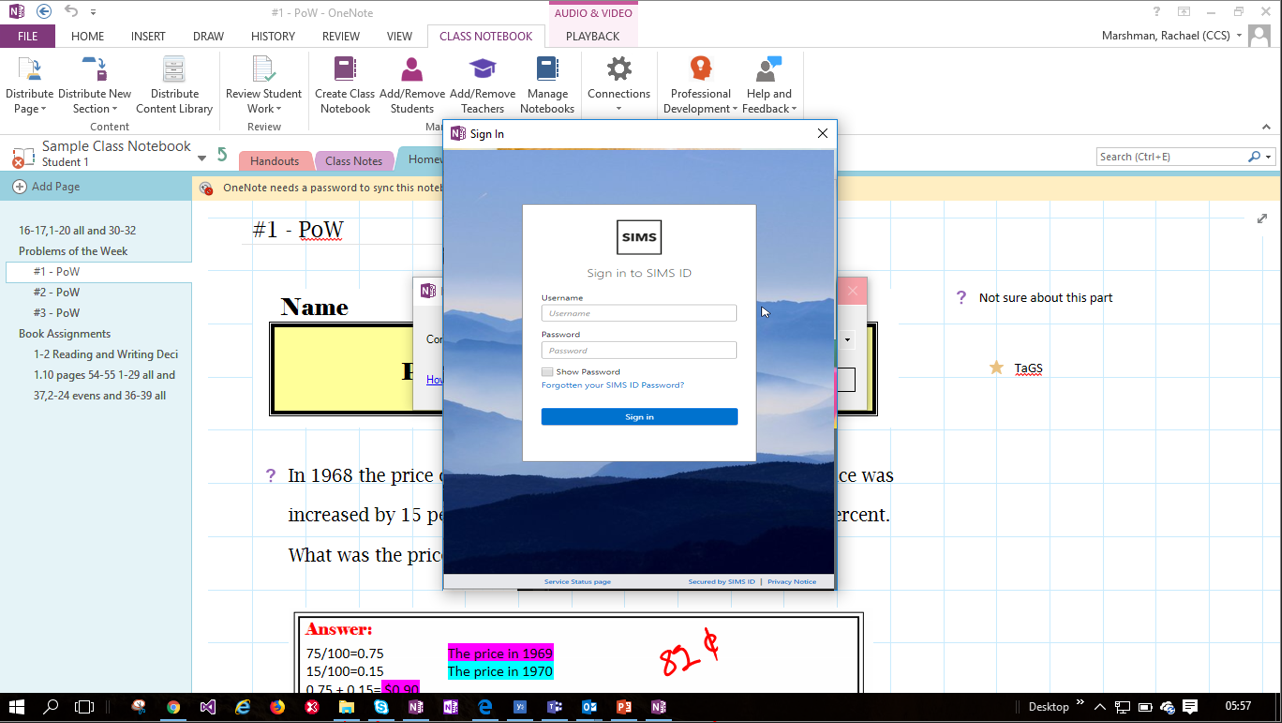
You will be presented with a SIMS ID Login box.
As a staff member with responsibility for a class you should login.
Once you have successfully signed in the SIMS LOGO will appear on the Class Notebook tab next to the Connections option.
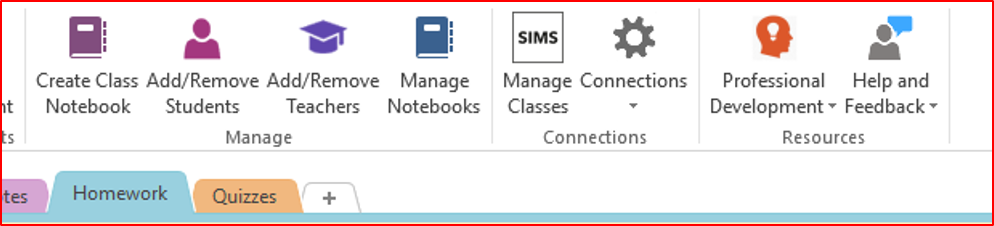
You have established a connection between OneNote and the Data Exchange Mechanism for SIMS.
Mapping Classes to Class Notebooks
The next task is to Map Your Class Notebooks to your classes in SIMS. You only have to do this once per Class Notebook.
Each Class Notebook is mapped to a single class.
To do this click on the Connections icon and select Map Class Notebooks... from the drop-down Menu.
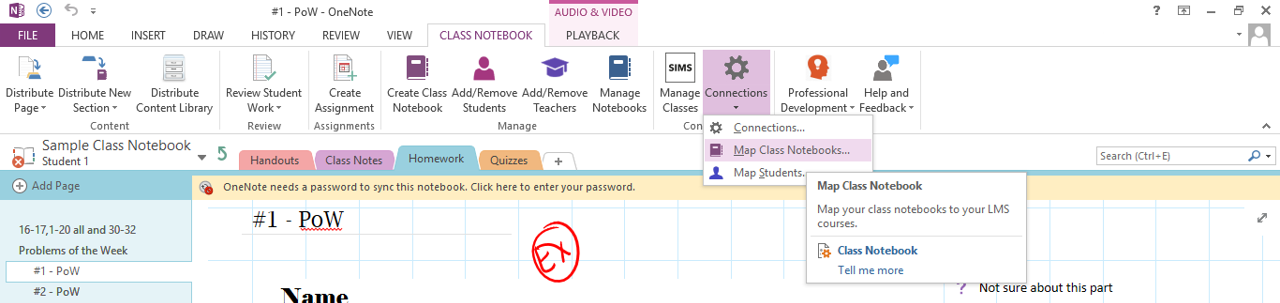
A dialogue box will appear with your Class Notebooks on the left hand side and the Classes from SIMS on the right hand side. SIMS Classes will show class name and description (only name is shown on the screen shot.)
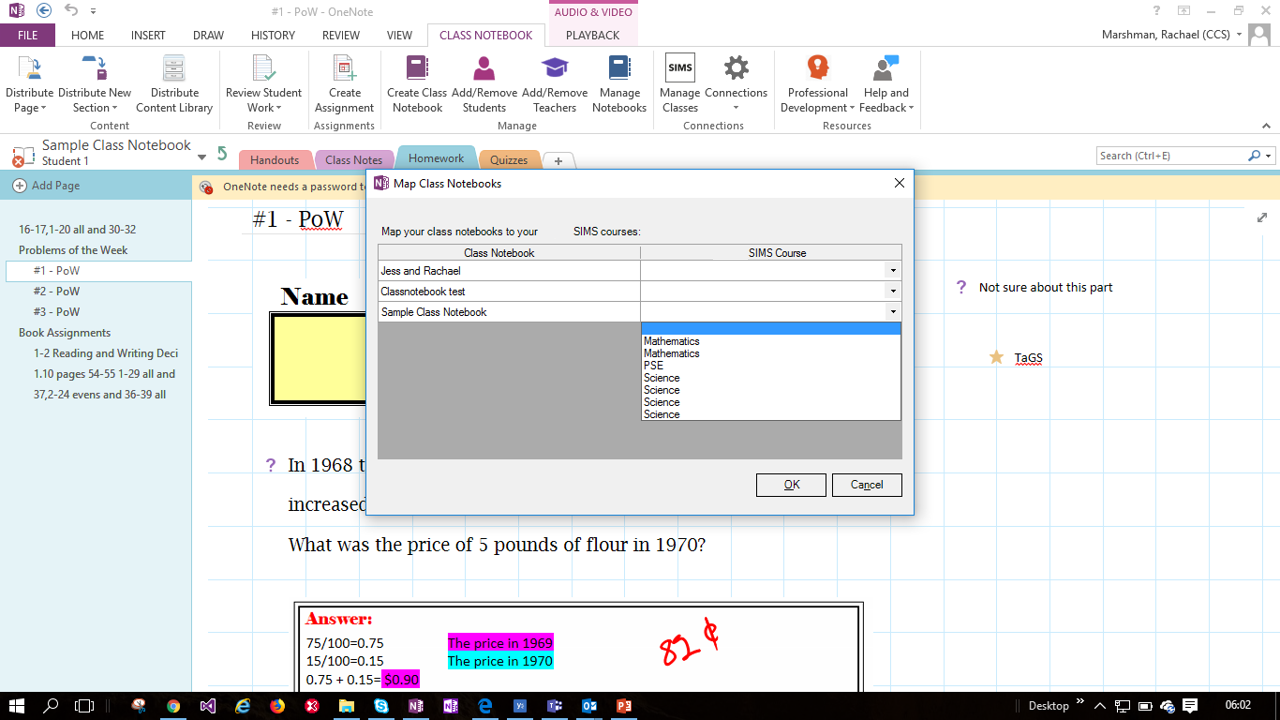
Click OK when you have completed matching Class Notebooks to Classes
Now, when you create or grade assignments in this notebook, they will sync with SIMS
Mapping Students
Once you have mapped your Class Notebooks to your classes in SIMS. You are able to map your students. You only have to do this once per Class Notebook.
This task is necessary as your students in Microsoft Office 365 may not have usernames that are based on their forename and surname. For example, a student is listed in your SIMS class as 'James Hobbs' but recorded as 'Jim Hobbs' in your Class Notebook or you may have more than one student called 'Adam Smith'.
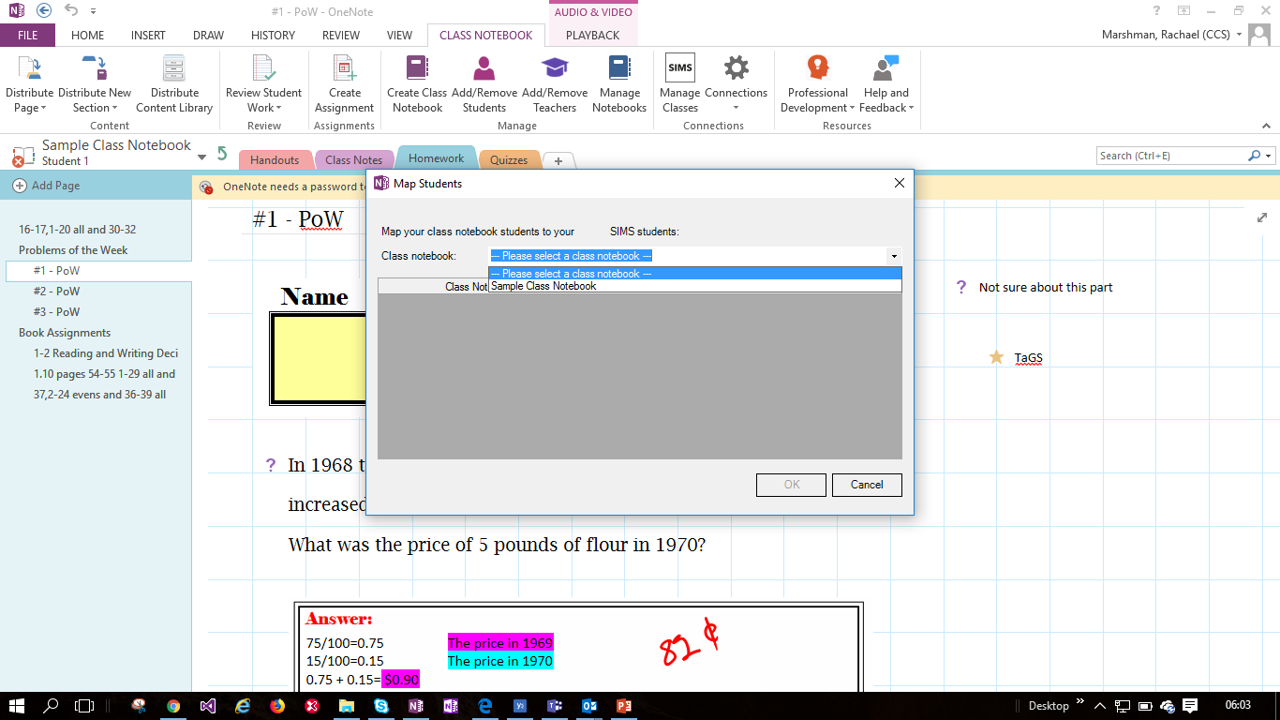
To map your students, click on the Connections icon and select Map Students... from the drop-down menu.
A dialogue box will appear with your students will appear. Check the correct Class Notebook is displayed at the top of this dialogue.
Once you have selected the Class Notebook the dialogue will populate with student names. Students users names from Office 365 (as they are known to Microsoft OneNote) on the left-hand side and the Members of your class (as they are known in SIMS) on the right-hand side.
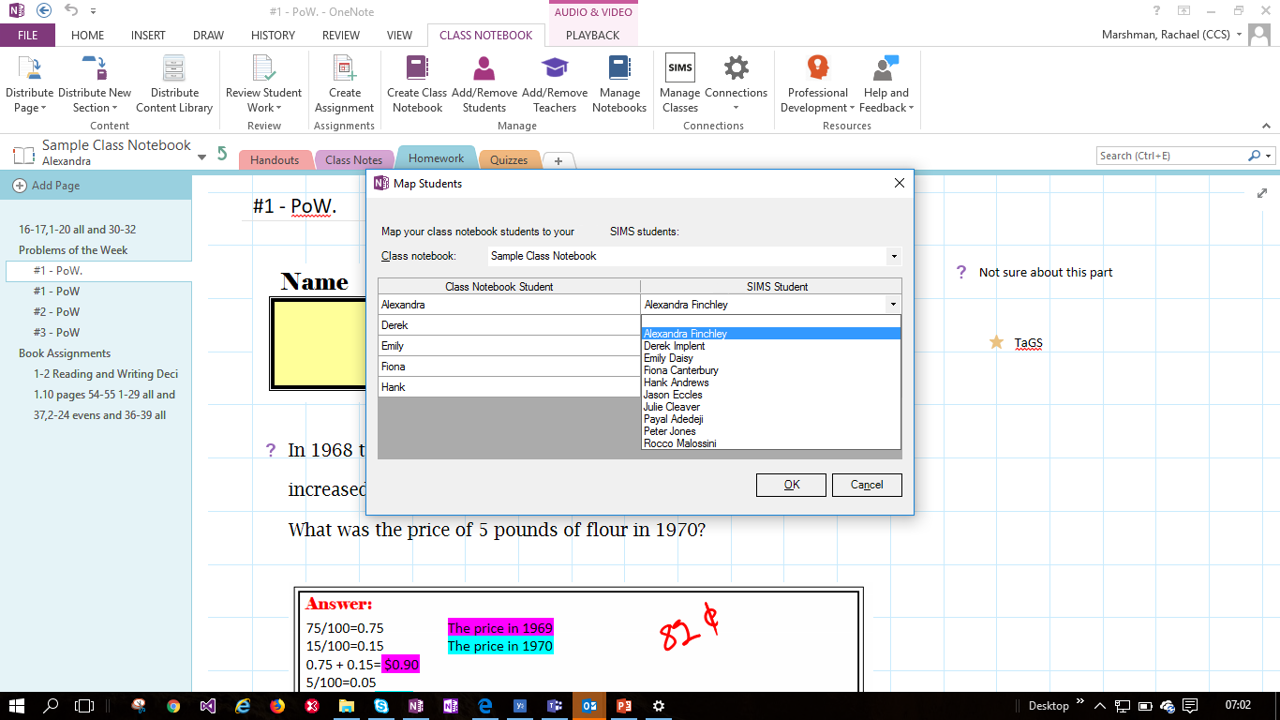
Match the users and click OK
You are now ready to use One Note Class Notebook to transfer Assessment data to SIMS.
Using OneNote Class Notebook to Set Assignments.
To learn how to create an Assignment in Class Notebook please follow the Microsoft Guidance: Create an assignment in LMS and your Class Notebook
Posting Assignment scores from OneNote Class Notebook to SIMS.
As you mark the student’s assignments you are able to comment directly on them to provide formative assessment feedback to the student using the inbuilt OneNote toolset.
Find out more about Review student work in Class Notebook
and
Providing feedback on student work
You are also able to capture Assessment scoring from the Class Notebook directly into SIMS. This allows summative assessment scores to be recorded.
These instructions are for the desktop version of OneNote for OneNote for Web, OneNote for Windows 10 and OneNote for Ipad see here
From inside the desktop version of OneNote and within the Class Notebook
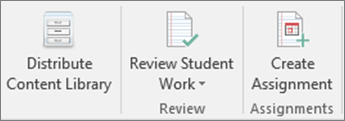
Select Review Student Work in the Class Notebook ribbon.
Select the section of student work you’re reviewing. For example, Homework.
Use the checkbox in the Review Student Work sidebar to expand the list of student names beneath the assignment you’re grading, then select Enter Grades
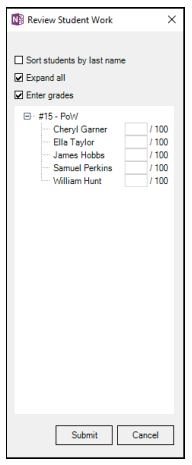
Select each student’s name to review their work and enter each student’s grade. For example, 75/100.
Select Submit when done.
The grades you entered will sync automatically with SIMS, this can take up-to ten minutes.
What do I see in SIMS?
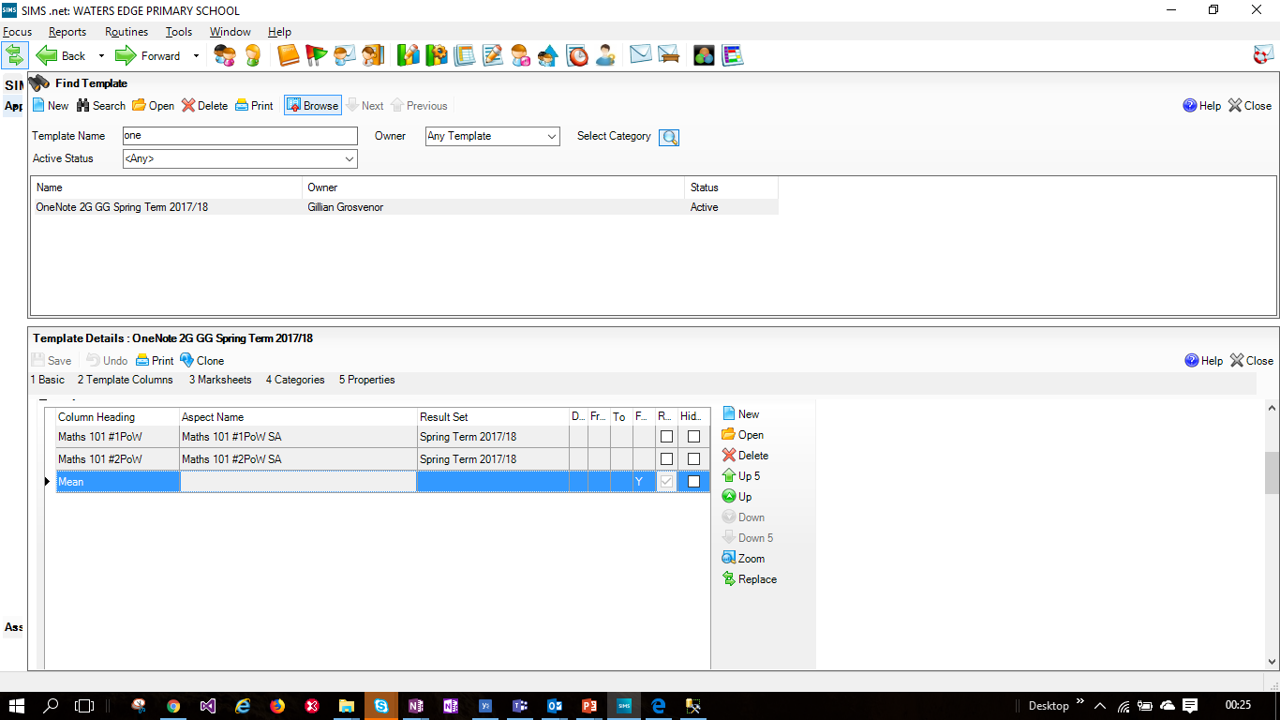
On submission the system will automatically create an assessment template for OneNote.
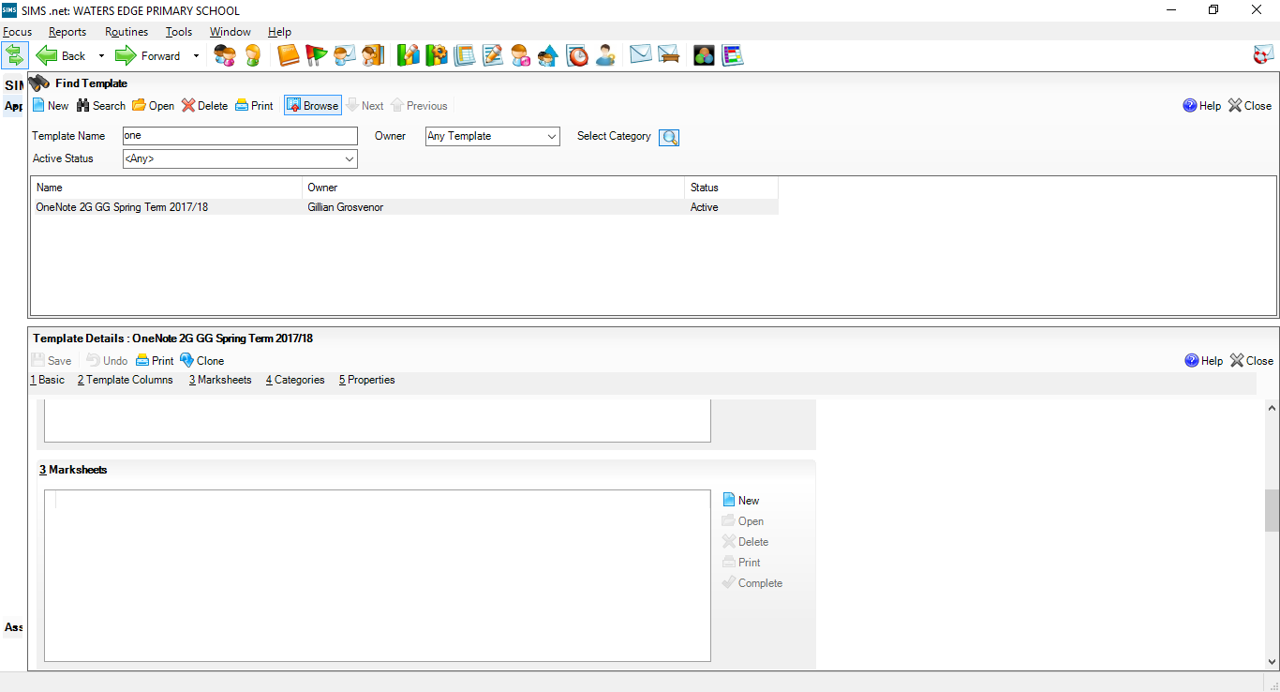
The template is called OneNote & the grading period.
Within that template, an aspect has been generated along with a 'result set' for the term you are working in
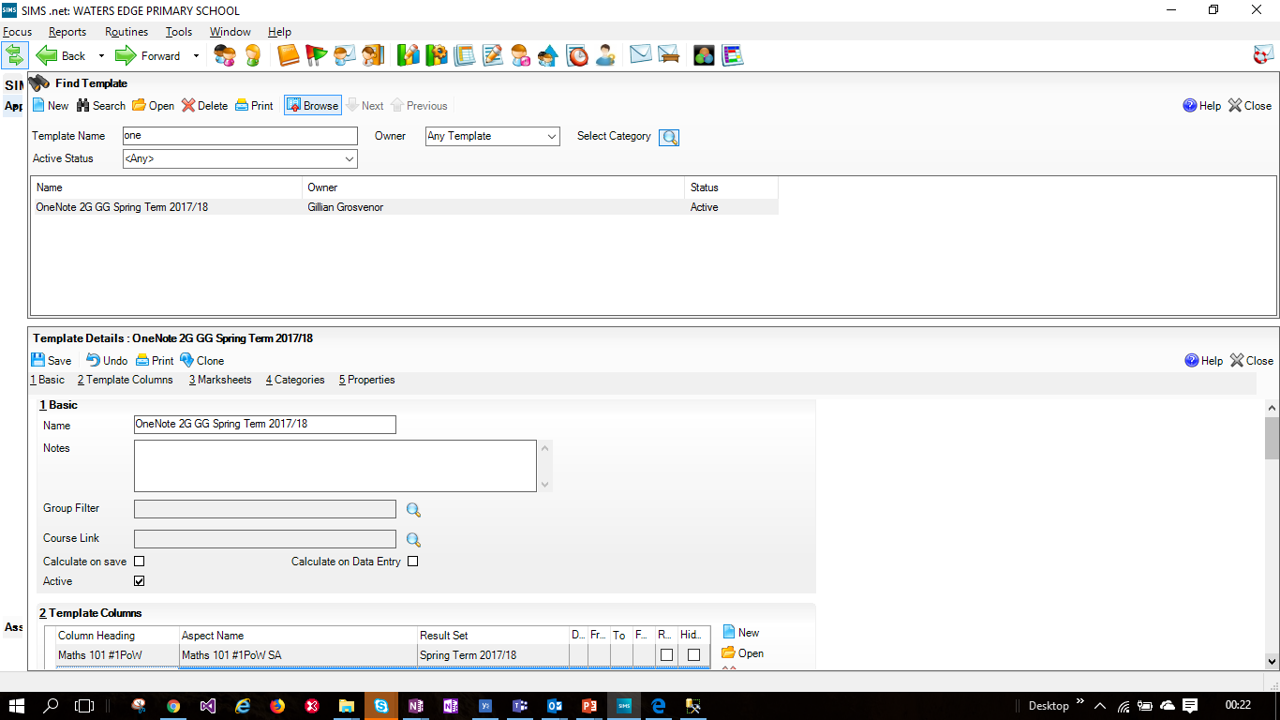
As a teacher, I can now log into my own marksheet in SIMS to review the OneNote grades
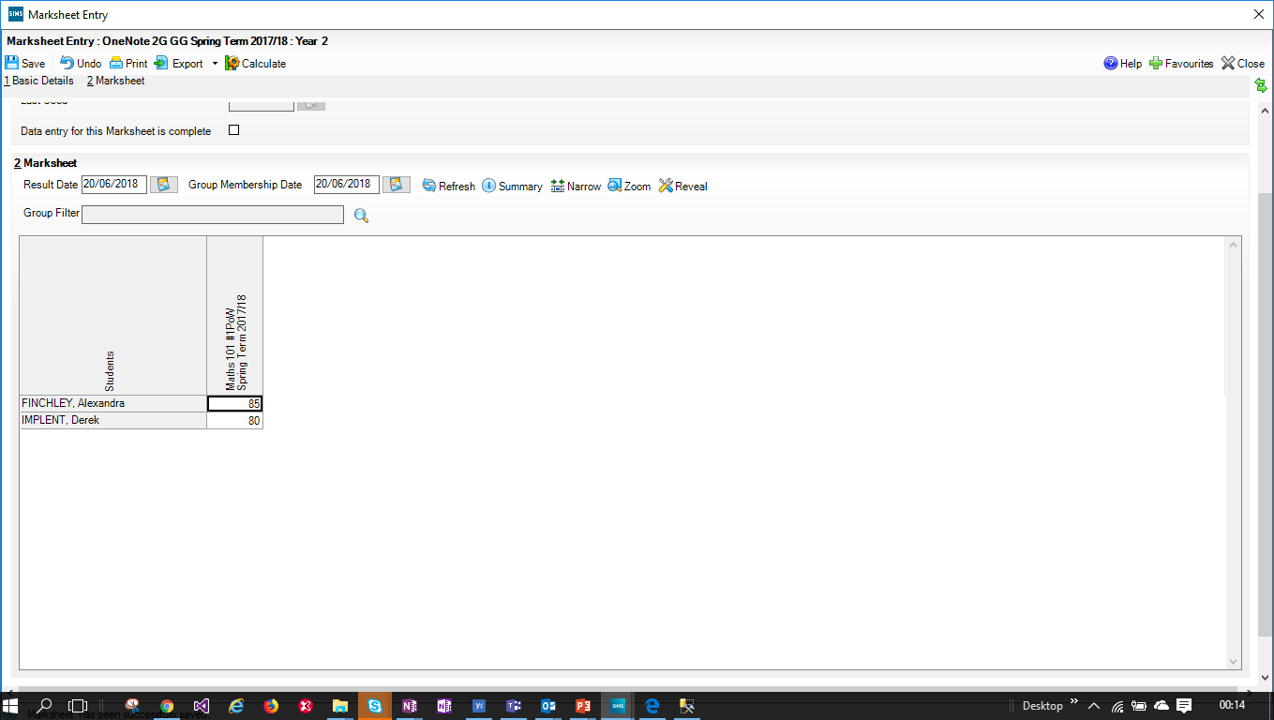
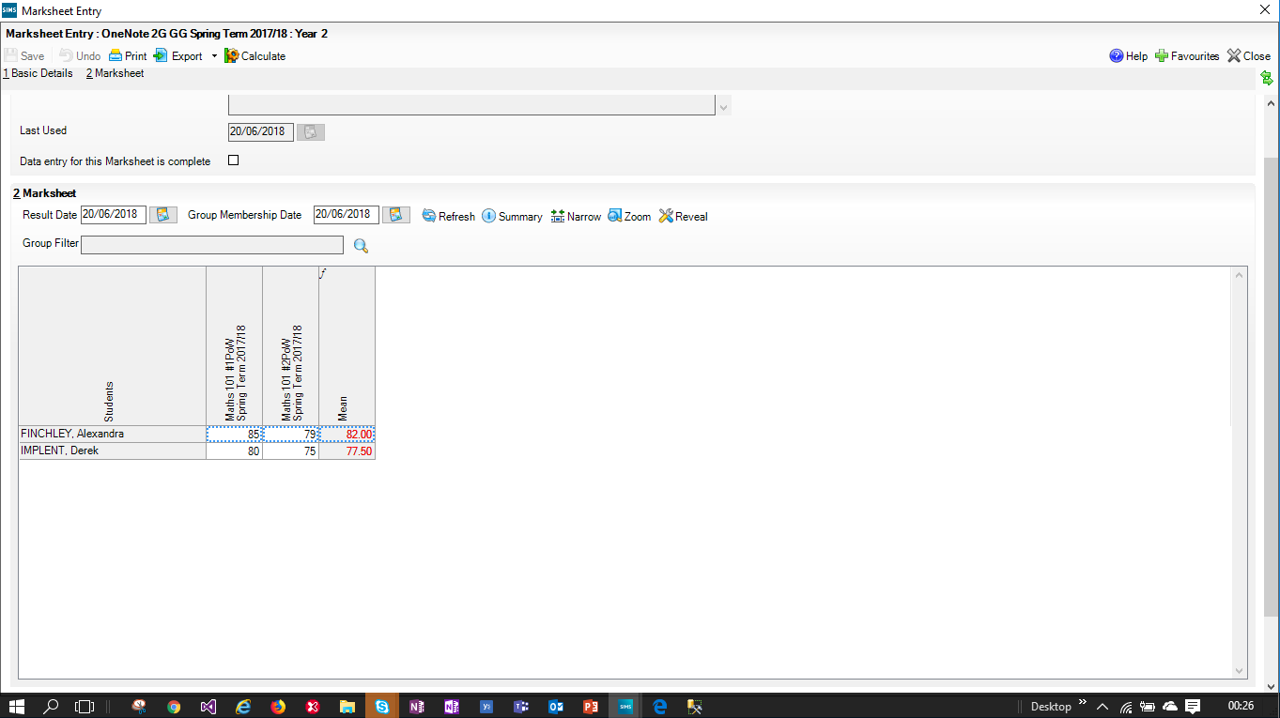
When you mark more assignments in your Class Notebook they will be appended to the existing template AND will insert a MEAN formula to help aggregate the average outcome for assignments over the grading time period.
Further information
You may also want to refer to the OneNote Assessment write back FAQ