Setting up Microsoft Or Google Services Step 3
This step is common to a number of self-onboarding processes
Step 3 – Enabling the people service
If you are planning on using SIMS ID to provision users and groups to Office 365 and/or the Microsoft Schools Data Sync Service you can skip this step and proceed to Step 5. If you are using SIMS Parent APP you may find that SIMS System Manager is already configured and you can confirm using this step before proceeding to Step 4.
Login to SIMS ID https://id.sims.co.uk with your temporary username and password
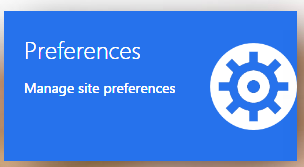
Click on the Preferences Tile
Click on the Self On-boarding Tab
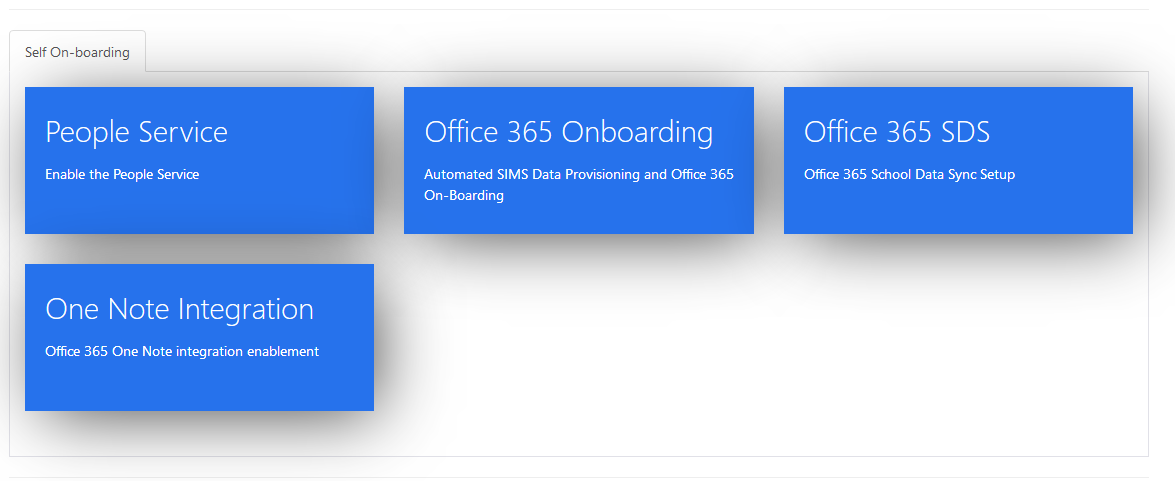
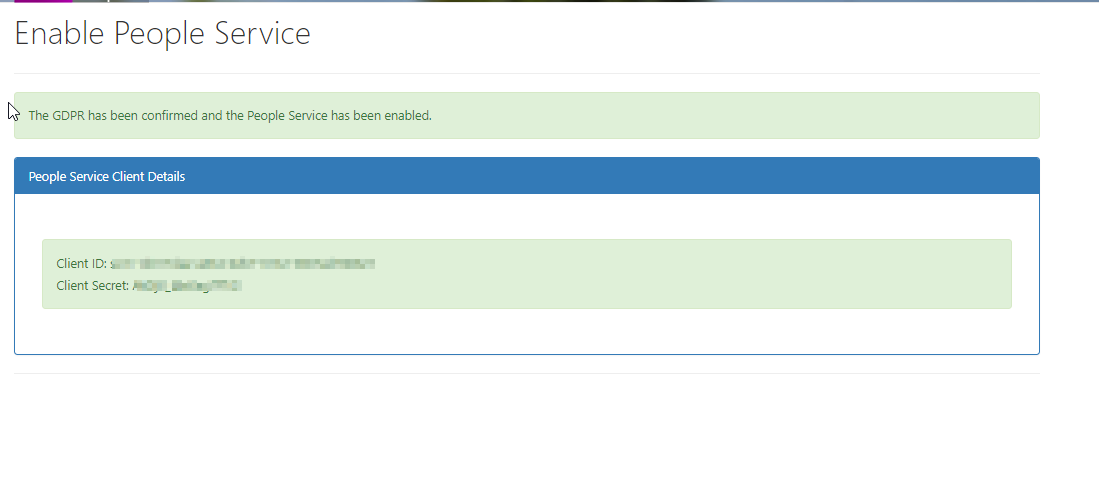
Click on ‘People Service’ button
Agree the data processing statement
SIMS ID extracts data from SIMS using the People Service and associated Group Services. The next set of screens set this up. You may have already set some elements of this up if you use other SIMS Online services.
The first screen provides information on what data will be transferred to SIMS ID.
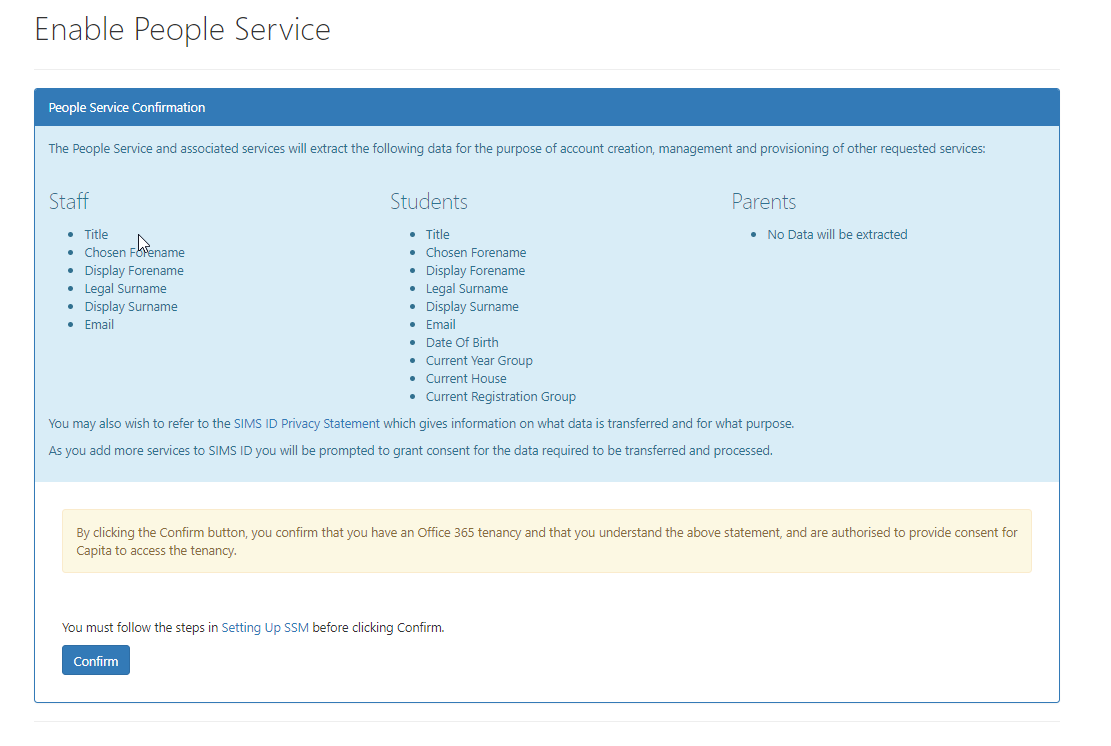
Capita takes great efforts to be transparent about what data is used and for what purpose. This is not just about complying with GDPR but also because we know how valuable and sensitive your data is. You may want to view our Privacy Statement on our Support Site
If you consent to the data transfer please click Yes
Set up SIMS System Manager
The next step is to set up the relevant service is the SIMS System Manager module - A explanation of how to do this is provided here:setting up SSM
You may have already done this. If not you will require a Key and Secret This is provided by clicking the Show Client ID and Secret for SSM Button
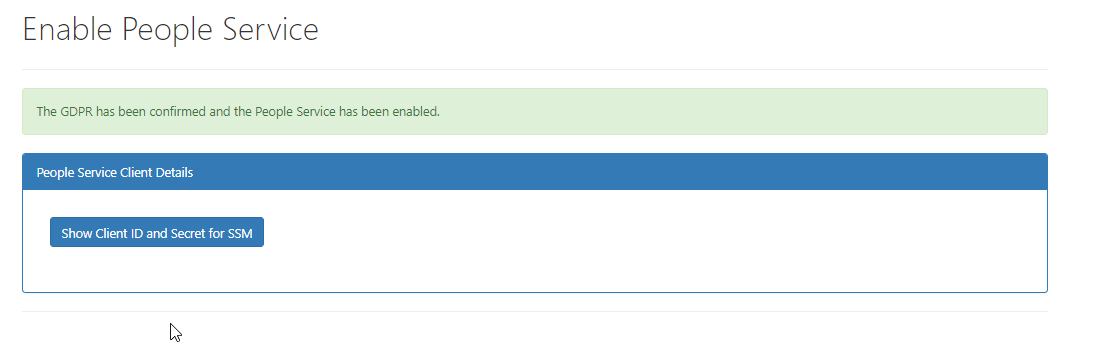
Your key and secret are displayed - please treat these as highly confidential
**If you had to configure SIMS System Manager move to Step 5