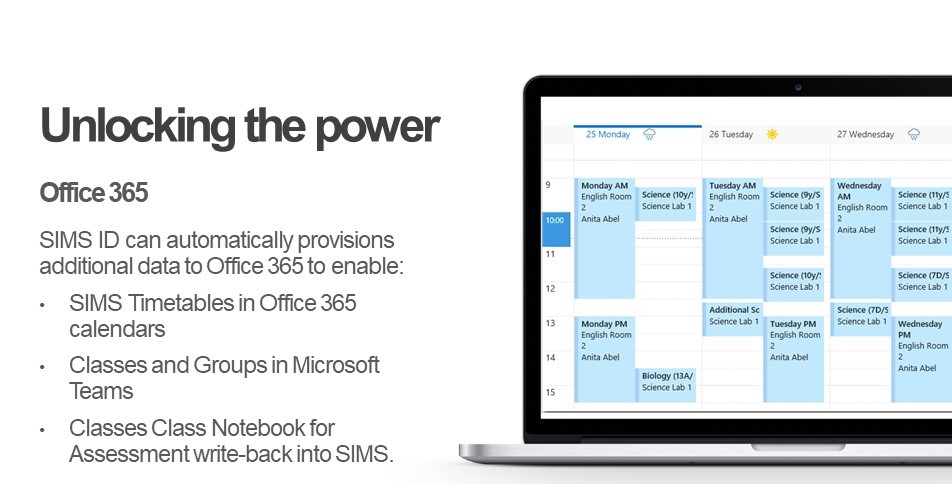
Display SIMS Timetables in Office 365 Calendars

For SIMS customers with Office 365 it is possible to automatically publish the SIMS timetable data as events in the Office 365 calendars for the pupils and staff they apply to.
Setting up the Timetable Service
Prerequisite actions
Please ensure your site is set up for Office 365 within SIMS ID. You can do this by using the Office 365 Self Onboarding tool that forms part of the enablement of OneNote Write Back.
Preparing SIMS to use the service
You will need to run the following SQL script against your SIMS Database to licence SIMS for the Timetable SSM Package.
Please download the below SIMS Patch
Having installed the patch against SIMS, please install the capita.sims.timetable package into SSM - this is available inside SSM in the Manage Packages section.
Timetables will start to sync within 120 minutes.
The "Send SIMS Timetable to Office 365" package is running within SIMS Service Manager, check associated logs to ensure data is flowing and no errors are being returned.
Check users mailbox in Office 365 has mailbox permissions set. If there are no permissions set, these will need to be applied, this can be carried out manually by setting the SIMSID service account, which was used in the Office 365 self on-boarding process , with read and manage permissions. Alternatively you can use the below powershell to re-apply all permissions.
[Office