Create or edit an application
Application Management Interface
The interface for creating and/or managing a Technical Integrator Application is based around four tabs.
The first tab defines the Application Tile that is presented to the customer. The second tab handles Single Sign On Integrations. The third tab handles Data exchange Integrations. The final Tab allows the Technical Integrator to review their application and ESS to approve that application. Moving between tabs saves that data on those tabs.
The Application configuration page
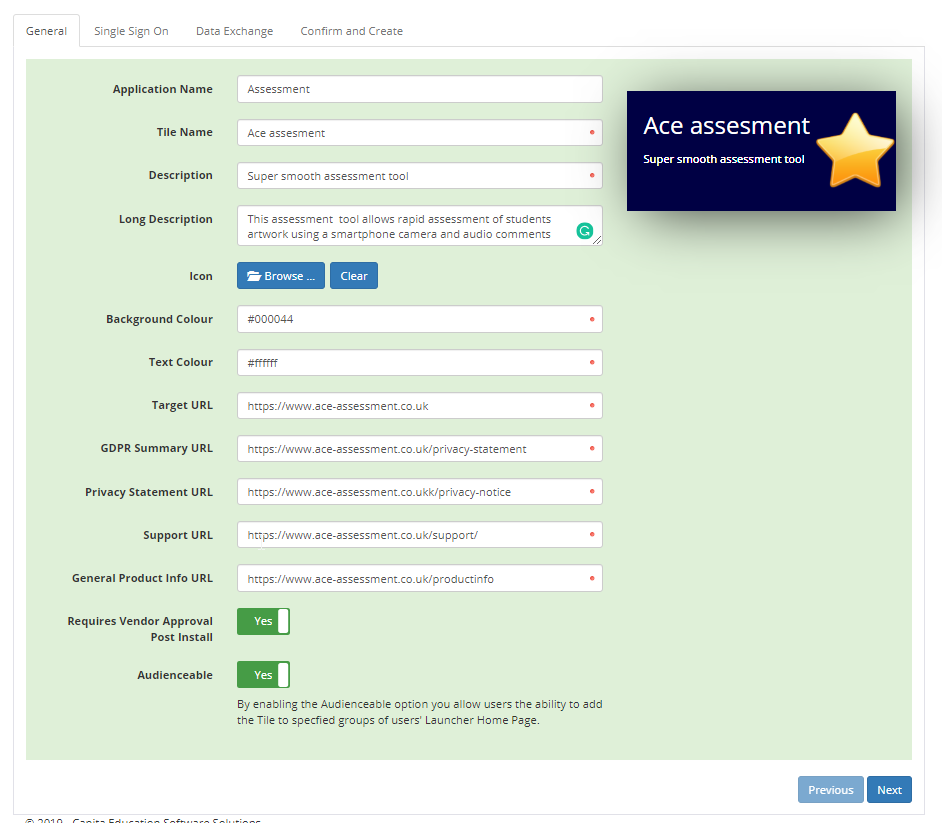
This page is used to add the following application information.
- Application Name - The name of your application and must be unique
- Tile Name - The title shown on the Application Tile. Please see the live tile preview for how this displays.
- Description - the short description shown on the Application Tile
- Icon - The image shown on the tile, this should be 1:1 aspect ratio
- Background Colour - this is the background colour of the tile
- Text Colour - The colour of the text on the tile
- Target URL - The URL clicking on the Application Tile will take the Local Site Admin or end-user to.
- GDPR Summary URL - Information on how the application uses data
- Privacy Statement URL - The Application's or Technical Integrator's Privacy notice
- Support URL - A link to the support information of the Application
- General Product Information URL - Product marketing website
- * Requires Vendor Approval Post Install* slider - set this to yes if you wish to approve site installs of your application. This allows the Technical Integrator to confirm payment and/or complete additional product setup before the tile and any associated integration is made active.
- * Audienceable* slider - By enabling the Audienceable option you allow users the ability to add the Tile to specified groups of users' Launcher Home Page. This is generally set to yes for SSO applications.
When finished and to save entered data click next.
The SSO Integration page
There are three SSO options:
- None
- OAuth/OIDC
- SAML 2
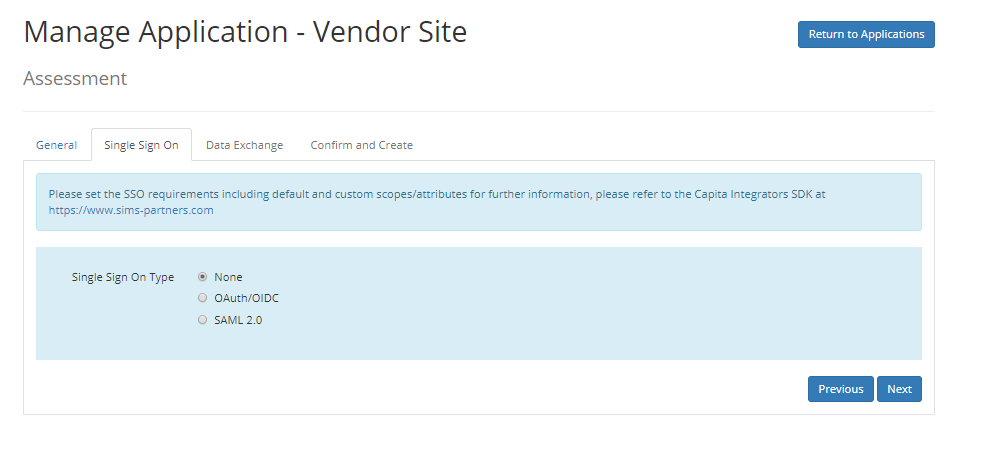
If your application does not require an SSO integration leave this set to None
SSO using OAuth/OIDC
If you are using OAuth/OIDC based SSO fill in the detail on this tab
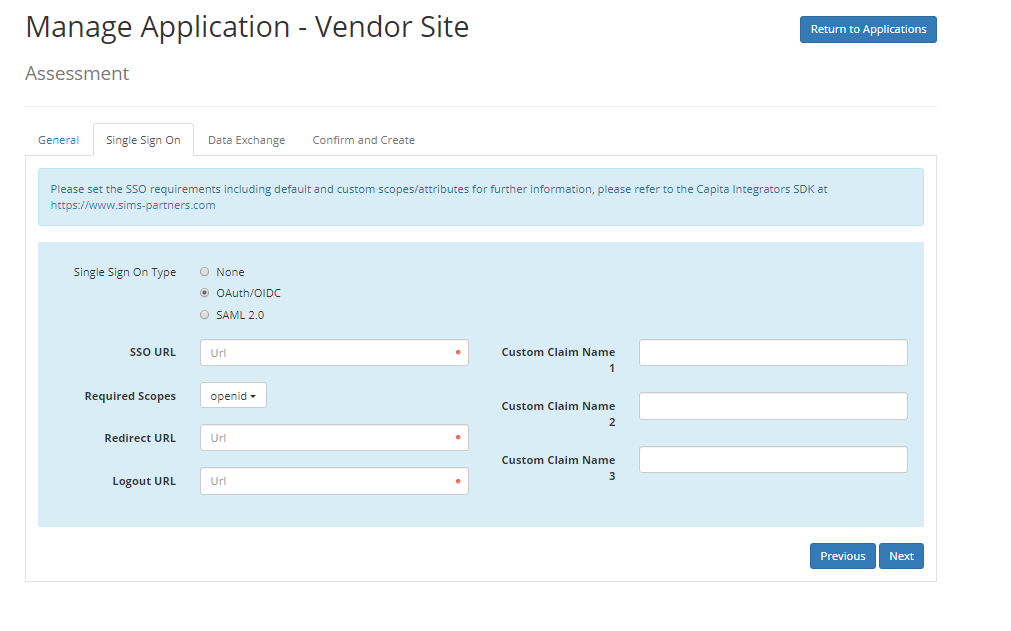
- SSO URL - This is the URL for the Integrated Application
- Required Scopes - you can select one or more scope in addition to openid details of the scopes are in the SDK Site
- Redirect URL - This is the URL that will be called on a successful authentication
- Logout URL - - This is the URL that will be called on a successful logout
- Custom Claims 1-3 - These are items of information the customer will be required to provide upon installing the application. The customer provided string will be presented in the access token on successful authentication.
SSO using SAML2.0
If you are using SAML 2.0 based SSO fill in the detail on this tab
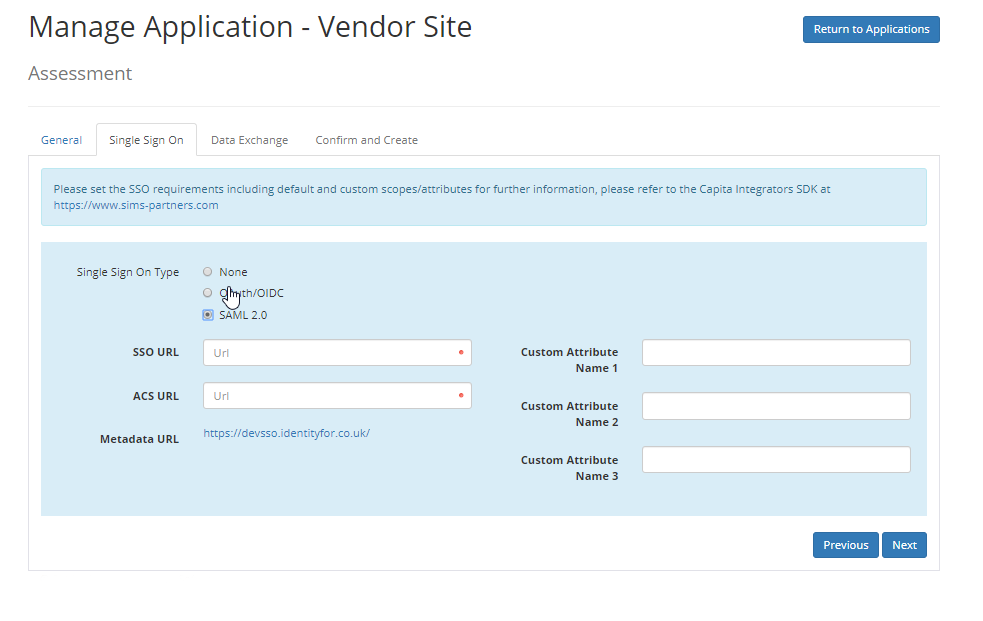
- SSO URL - This is the URL for the Integrated Application
- ACS URL - This is the Assertion Consumer Service URL for the Integrated Application
- Metadata URL - This is the SIMS ID IDP Metadata URL you will require to reference in your integration
- Custom Assertions 1-3 - these are items of information the customer will be required to provide upon installing the application. The customer provided string will be presented in the assertion returned by the SAML IDP on successful Login.
When finished and to save entered data click next.
Data Exchange using OneRoster or SIMS ID RAP API
There are two options:
- None
- One Roster & RAP API
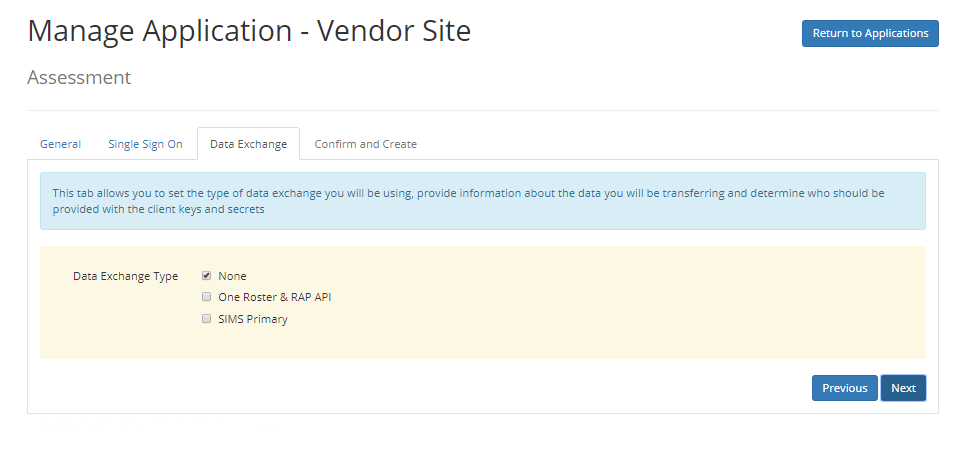
If your application does not require Data Exchange integration using One Roster or the RAP API leave this set to None
Configuring Data Exchange using One Roster or The RAP API
If you require data from the One Roster and/or the RAP API please select that option so you can configure the settings.
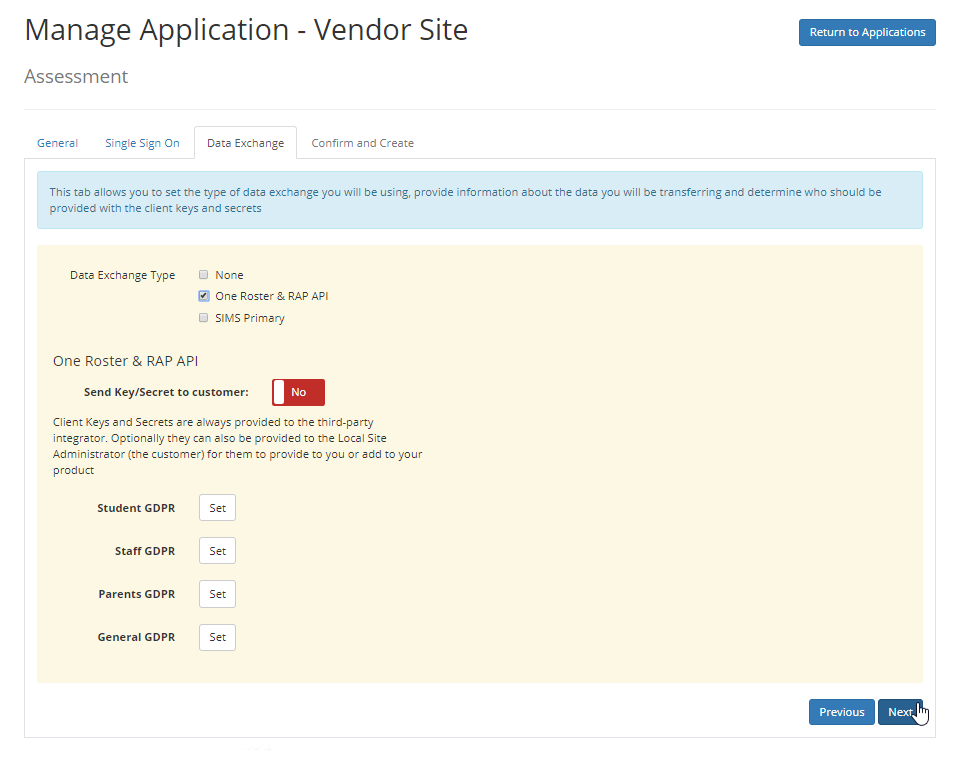
For One Roster & RAP API Data exchange set the following:
- Send Key/Secret to customer slider - Client Keys and Secrets are always provided to the third-party integrator. Optionally they can also be provided to the Local Site Administrator (the customer) for them to provide to you or add to your product
You will also need to set the appropriate GDPR text for each user account. This should be in the form of a list of Data Attributes exchanged for each user type.
Clicking the Set button next to each user type will open a WYSIWYG editor that allows basic text formatting.
Data Exchange using Dex OData APIs
There are two options:
- None
- SIMS Primary and DeX OData

If your application does not require Data Exchange integration using DeX Odata leave this set to None
Configuring Data Exchange using DeX OData
If you require data from the OData endpoint please select that option so you can configure the settings.

For DeX OData data exchange set the following:
- Send Key/Secret to customer slider - Client Keys and Secrets are always provided to the third-party integrator. Optionally they can also be provided to the Local Site Administrator (the customer) for them to provide to you or add to your product
You will need to set the appropriate GDPR information for each user type this should be in the form of a list of Data Attributes exchanged for each user type. Clicking the Set button next to each user type will open a WYSIWYG editor that allows basic text formatting.
Setting the data required from the OData endpoint.
The data transacted between SIMS and your product through the OData endpoint is controlled. You will need to define the data requirements for your application by selecting the required data 'securables'

Clicking Next when you have finished
The Application Management Confirmation Page
All settings can be reviewed on the Confirmation Page.
If you need to make any changes you can use the back buttons or click on the appropriate section tab.
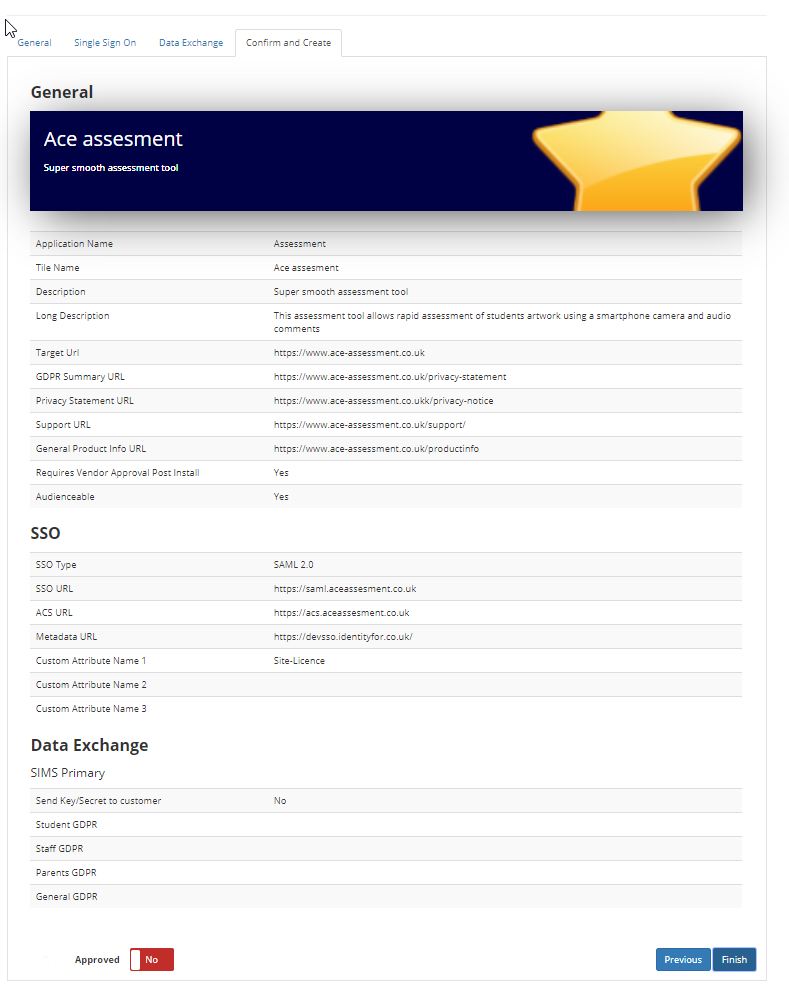
When finished and to save entered data click Finish.
After approval your application will be available for installation by schools within the Tile Store
Technical Integrator Application information
Overview of the Technical Integrator Application | Managing TI Applications | Creating and Editing Applications | Authorising TI Applications installed at a site | How schools authorise your application