ADI
Managing ADI Integration
Managing ADI Contacts, Groups and Rules.
To access ADI group and Setting management.
Select the Preferences tool from the SIMS ID Launch Pad.

Then choose the site you wish to manage from the list of sites presented. You can user the search tool and column ordering functions to assist you
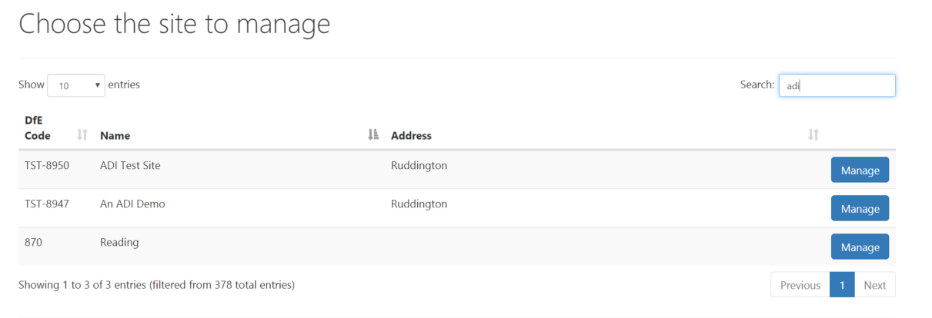
If you only have access to one site, this step is not necessary
Now click on the Manage ADI button

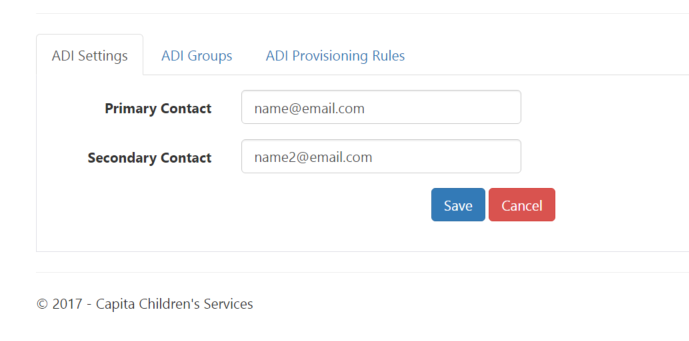
Editing your ADI contact emails
You will be brought to a screen where you can update the ADI contacts for the site. These e-mail addresses are used for notifications.
Managing your ADI Groups
To Manage ADI groups click on the ‘ADI Groups’ Tab.

You will now see your existing ADI groups.
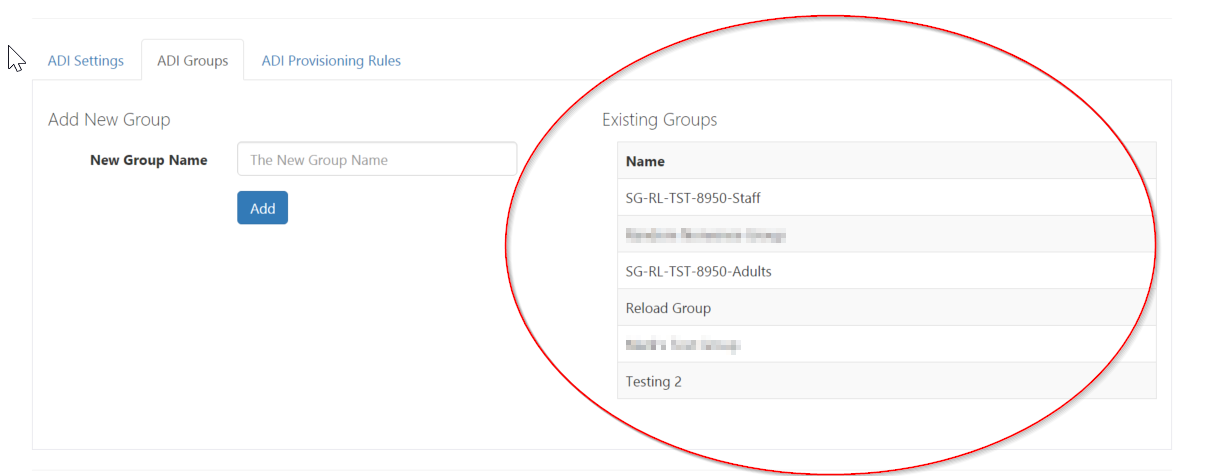
To add a new group type the group name and click on the add button

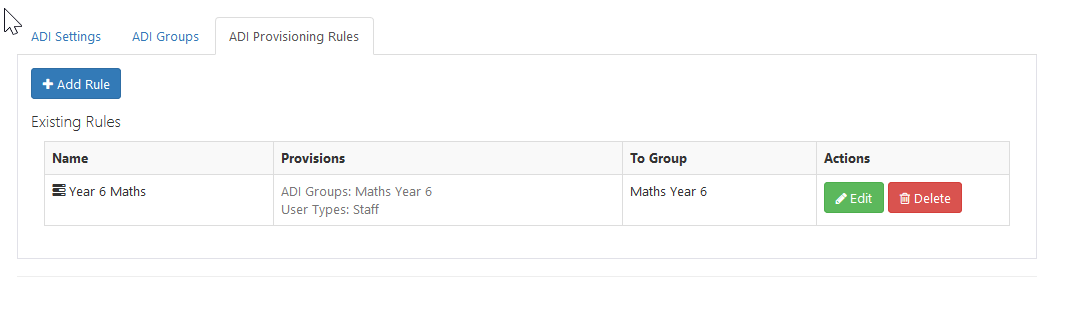
Managing ADI Provisioning Rules.
To manage the ADI provisioning rules click on the ‘ADI Provisioning Rules’ tab

This will show you a screen where you can Add new rules, view & edit existing rules and delete them.
Deleting an ADI provisioning rule.
To delete a rule click on the Delete Button
 to the right of
the rule.
to the right of
the rule.
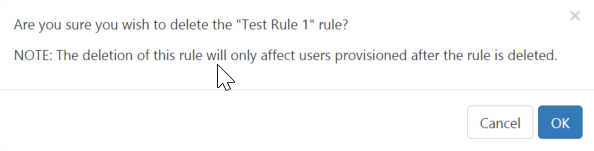
You will then need to click ok on the resulting dialogue box.
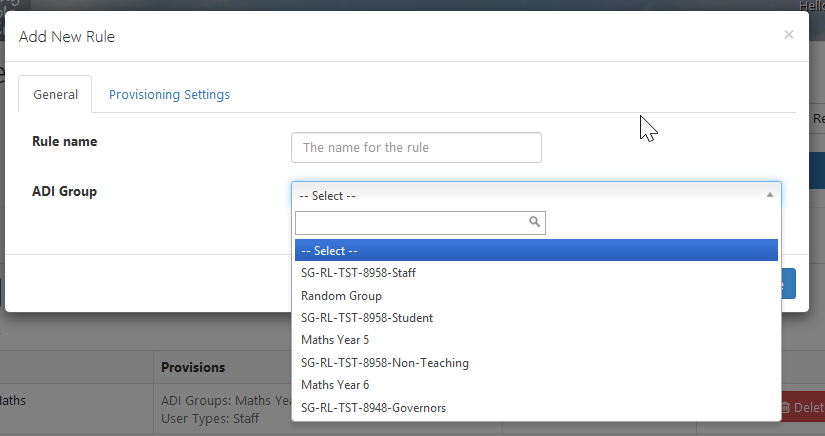
Adding an ADI Rule.
Click Add Rule 
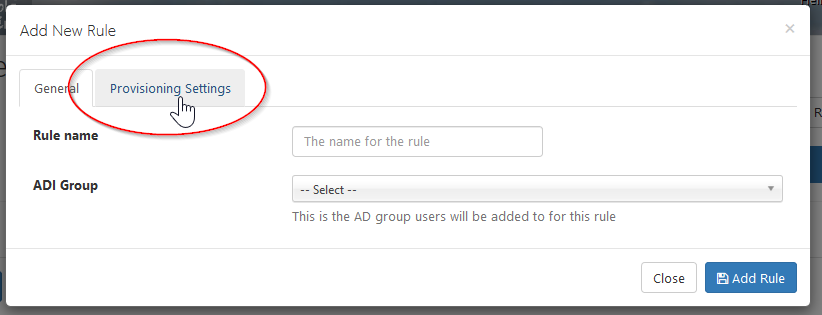
To add an ADI rule give the new rule a name and select the group the provisioning is for.
Then click on Provisioning Settings tab
You can then add the following to the auto-provisioning rule.
User types
ADI Groups
Registration Groups
Year Groups
House Groups
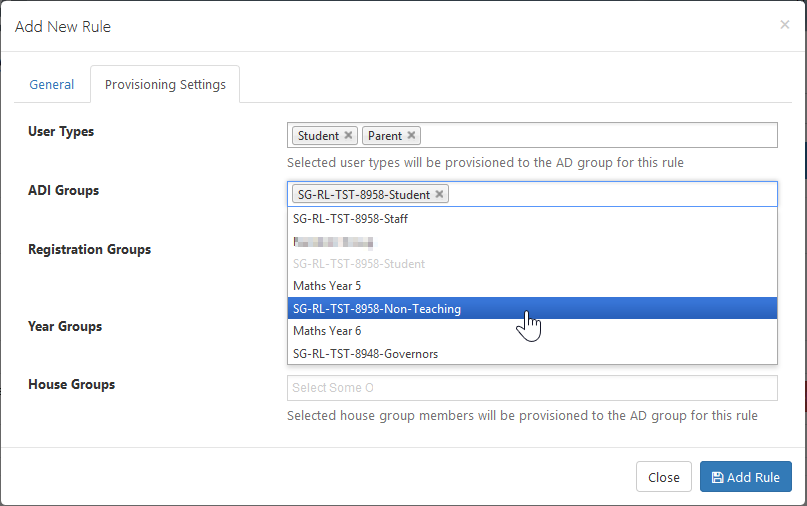
When you have finished click the Add Rule button

Editing Existing ADI Rules.
To edit a rule click
 next to the
rule you wish to edit
next to the
rule you wish to edit
To remove a group from a rule click the X next to the group name

When you have finished click the Save Rule Button

Managing ADI Users
This section is only relevant to Agilisys Schools in Sandwell
Logged in as a site Administrator of your school you can add or remove members to groups which will be synchronised with your Active Directory.
To manage the users associated with the ADI groups click on the User Tile, then “Manage Users” tile. If you are an administrator of more than one site you will need to choose the desired site at this screen. Providing the ADI service has been enabled you will see an ADI Tab, which when clicked on you will be able to manage ADI users.
To manually or remove users from the groups click on the edit button next to the group’s name

You will now see a screen which allows you to find and remove members (if they exist) by pressing the [X] button.
If you wish to add members click on the Add Members Button.
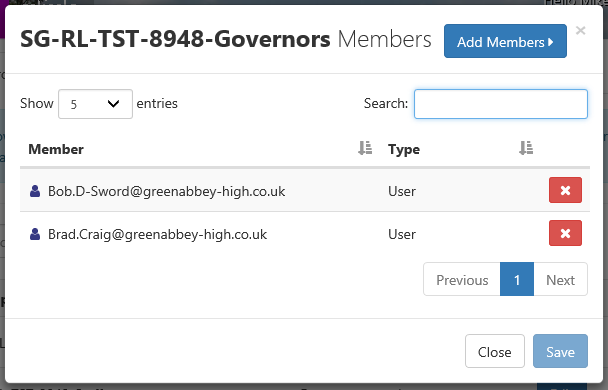
You will then see this screen which allows you to find and add members by using the [+] buttons

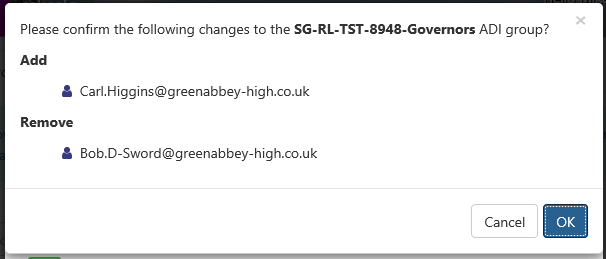
When you click on the Save button you will be presented with a summary of actions to be carried out, which you need to confirm by clicking on OK before they are carried out.
aardvark