Link SIMS Primary to SIMS ID
**
Like all application installs this task is initiated from inside the Tile Application Store.
For full information on using the Application Tile Store please see Using the Tile Store an Overview
Accessing the Tile Store
Login to SIMS ID https://id.sims.co.uk as a Local Site Administrator, If you are new to SIMS ID this may be with the temporary administrator username and password issued to you.
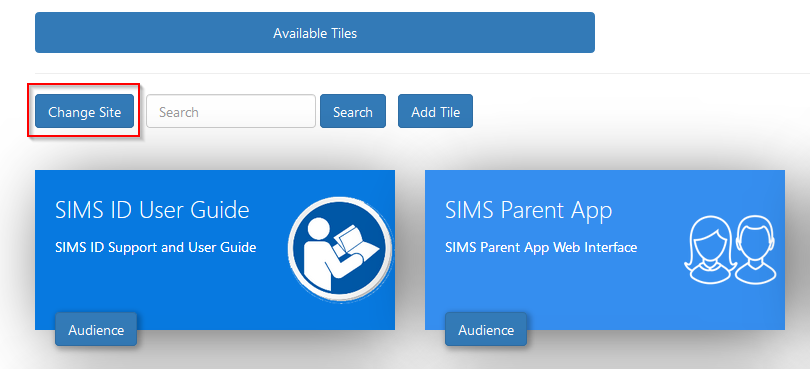
The Tile Store is accessible via the Tile Store tile on the Launcher Page of SIMS ID. Only admin users will have access to this tile.

If you have admin access to more than one site, when you access the tile store you will be taken to your primary sites Tile store first, if you want to change sites click on the "Change Site" button at the top or the page and a list of available sites will open within the page allowing you to select the site you wish to manage.
Finding the 'Link SIMS to SIMS ID application
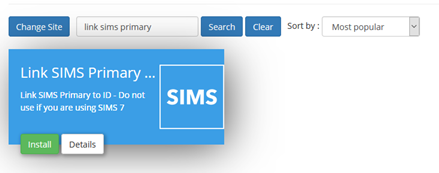
A search facility is available on the Tile Store screen to help quickly locate tiles you are looking for. Search for 'Linking SIMS Primary to SIMS ID'
Checking the application

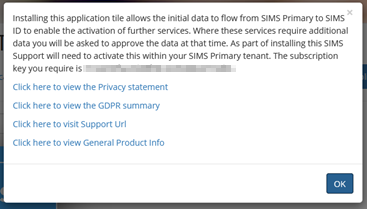
On the Application, there is a Details button. Clicking this button will provide you with information about the application. Included are links to the applications:
- Privacy Statement
- GDPR data transfer summary
Support Page
Installing the Link SIMS to SIMS ID Application
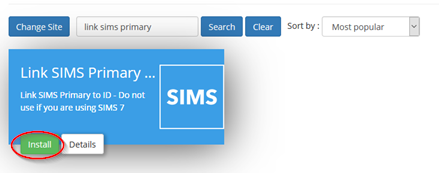
To install an application, click on the green Install Button on the tile.
The next screen will inform you of what data will be transfered from SIMS Primary to SIMS ID
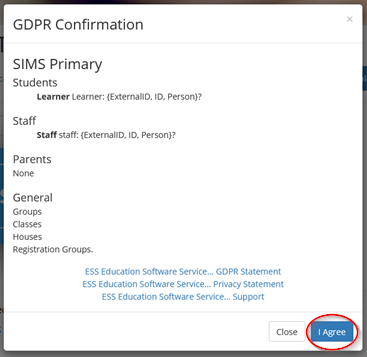
Click I agree.
Once installed the Link SIMS Primary to SIMS ID application becomes available on the *iInstalled Applications" screen. You will be taken to this screen.
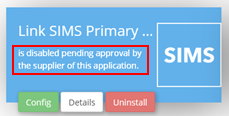
The tile will be in a pending state until you contact support to grant that appropriate permissions in SIMS Primary
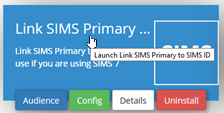
Configuring the Link SIMS Primary to SIMS ID application
To configure the application, click on the SIMS to SIMS ID application tile.
Agree the data processing statement
SIMS ID extracts data from SIMS using the People Service and associated Group Services.Primary. The configuration of the Link SIMS to SIMS ID application sets this up. You may have already set some elements of this up if you use other SIMS Online services.
The first screen provides information onconfirms what data will be transferred to SIMS ID.
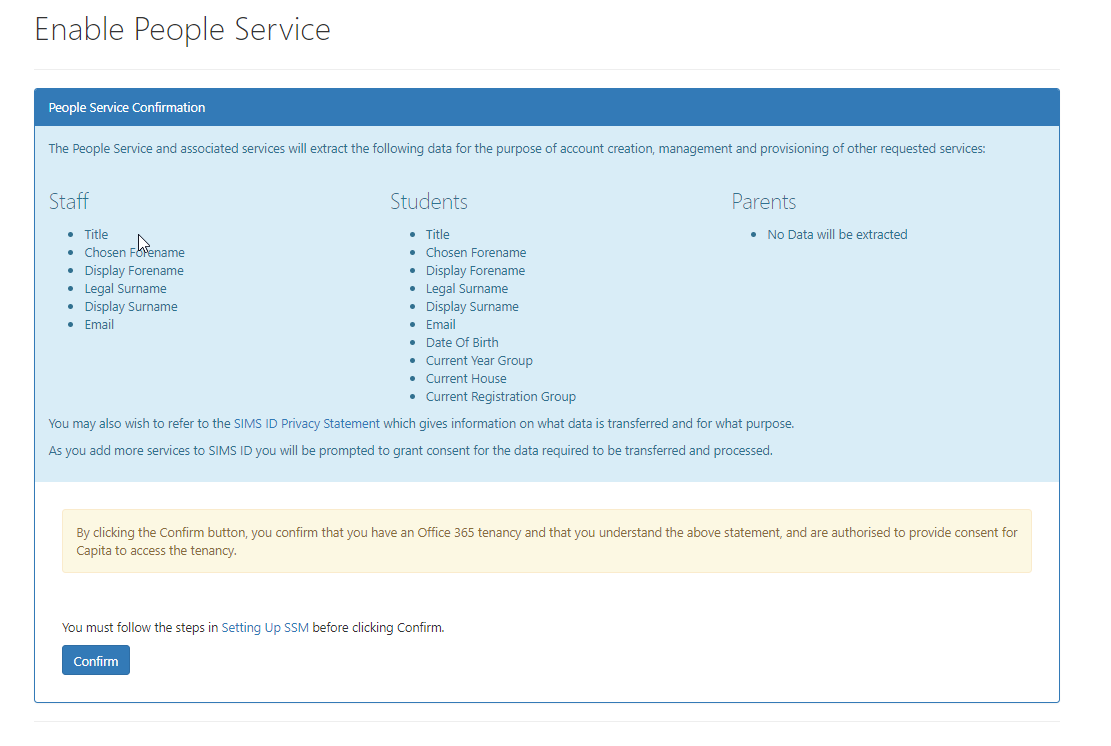
ESS takes great efforts to be transparent about what data is used and for what purpose. This is not just about complying with GDPR but also because we know how valuable and sensitive your data is. You may want to view our Privacy Statement on our Support Site
If you consent to the data transfer, please click Yes
Set up SIMS System Manager
The next step is to set up the relevant service is the SIMS System Manager module - A explanation of how to do this is provided here:setting up SSM
You may have already done this. If not, you will require a Key and Secret
This is provided by clicking the Show Client ID and Secret for SSM Button
Continue the SSM install with these details.
Linking SIMS Primary to SIMS ID is now complete.
Ensuring you’re data in SIMS and SIMS ID is synchronised if you have previously installed the SSM package.
If you have previously used SIMS Parent APP or SIMS pay not all of the data necessary for SIMS ID to work with Microsoft or Google may be present.
Inside Preferences
Click on Connected Services
Click on MIS Data SYNC
Then click on the Re-Sync button next to People Service
Wait a few moments and then click on the Re-Sync button next to Group Service
complete
You can confirm that data is presnet by looking in the Usermanagment section of SIMS ID and the Groups Section inside Preferences.