Hosted Multisite
HOSTED SIMS Accessing multiple sites
SIMS ID and Hosted SIMS allows users to access more than one school with a single username and password. The process starts with the user’s school that contains the user wanting to access another school, this school is called the originating site.
The originating sites data controller will need to log a support call asking for a named user to be sent to a Destination site for security approval.
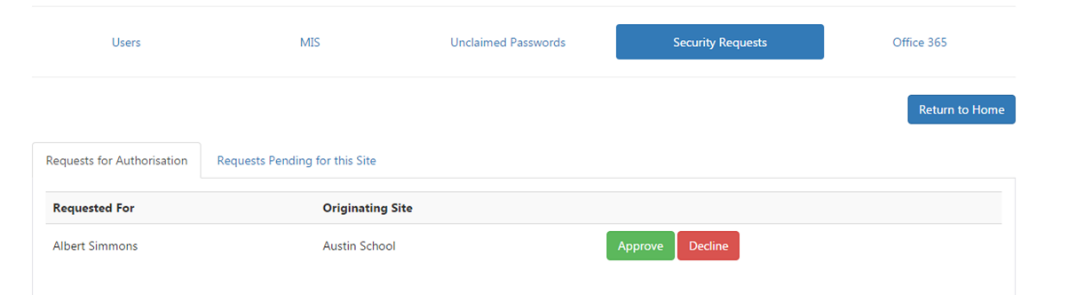
Once support call has been completed the target site will need to approve or decline the security request from within the “Security Request” page. If the user is approved the user will appear under the “users” list and permissions to applications can be setup like any other user from the site.
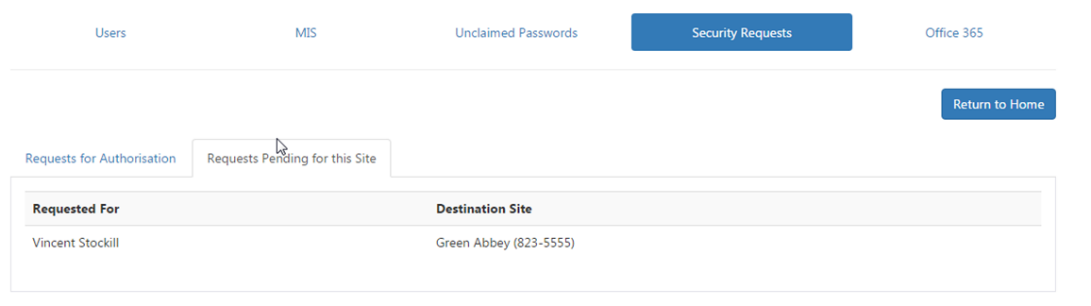
The Destination site will be able to see that the request is pending from the “Requests Pending for this Site” screen
The following scenario explains the process of setting up multi-site users:
Scenario: A teacher Jeremy Colburn requires access to two Hosted SIMS schools. He wants to use his account jcolburn1@hosted.sims.co.uk to login to both schools.
Process:
Jeremy Colburn is setup in school 1 in SIMS Personnel and SIMS System Manager. School1 automatically syncs with SIMS ID and creates a SIMS ID username of jcolburn1@hosted.sims.co.uk which has access to School 1.
A case is logged with the Capita service desk asking for jcolburn1 of school1 to be granted access to school2.
The desk will send a pending request for jcolburn1 to school2. A site administrator of school2 logs into SIMS ID and under user management “Security Requests” Approves the security request.
A site administrator of school2 logs into SIMS ID and finds jcolburn1@hosted.sims.co.uk in the list of users and grants jcolburn1 access to the SIMS application of school2.
A SIMS manager at school 2 logs into SIMS System Manager of school2 and creates a user Jeremy Colburn with the correct SIMS System Manager group permissions and sets the user to Active.
The “username” for Jeremy Colburn at school is us updated with “SIMS\jcolburn1” where jcolburn1 is the first part of the person’s username, the user is saved. . See example below.

jcolburn1@hosted.sims.co.uk will now be able to login to https://id.sims.co.uk and access both schools.
*Please note an additional user Jeremy Colburn will appear in the list of users at school 2, this user can be ignored. This process can be repeated at multiple school in a scenario where a SIMS Support person requires and permitted access to multiple schools. *
Managing Access to multiple schools
If you have access to multiple databases then you are able to swap between the databases using the SIMS Multi Site Selector or the FMS Multi Site Selector. You simply need to select the school from the grey drop down and launch the application for the chosen school. You can only be connected to one school at a time.
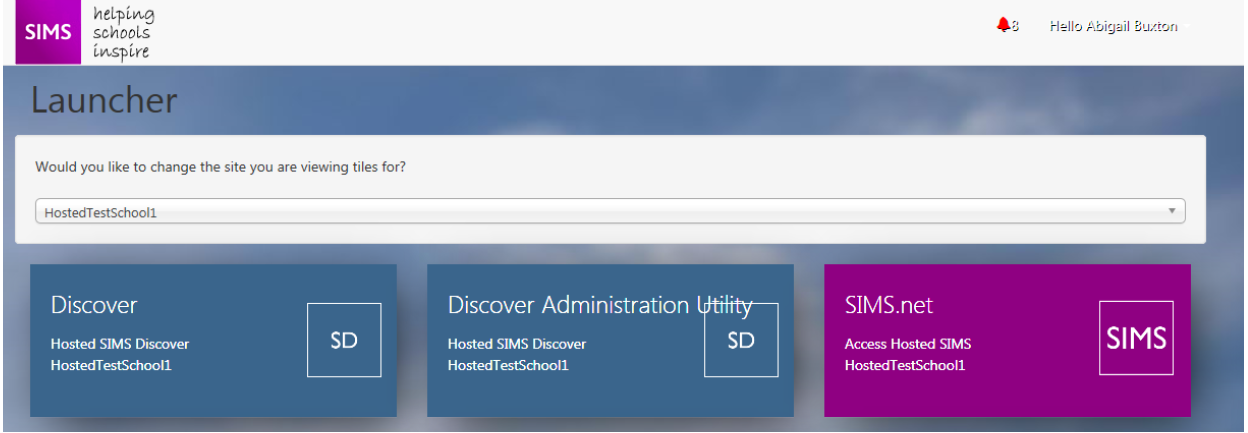
From the drop down simply select your school and you will notice the tile text changes for each tile based on the selected school. Simply click the tile to Launch, SIMS or Discover for the required schools. Please note you can only be logged into one school at a time, trying to open another schools SIMS or Discover system will prompt you to logout of your current school.
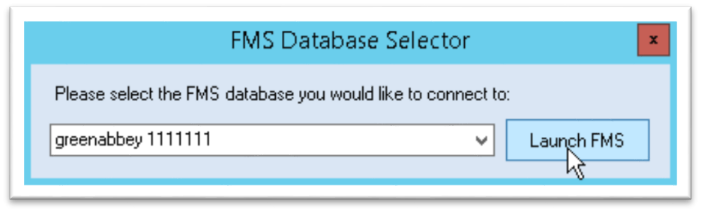
FMS Multi Selector
Click on the FMS tile in SIMS ID.
When the application launches you will be presented with a drop down list of the databases you have access to.
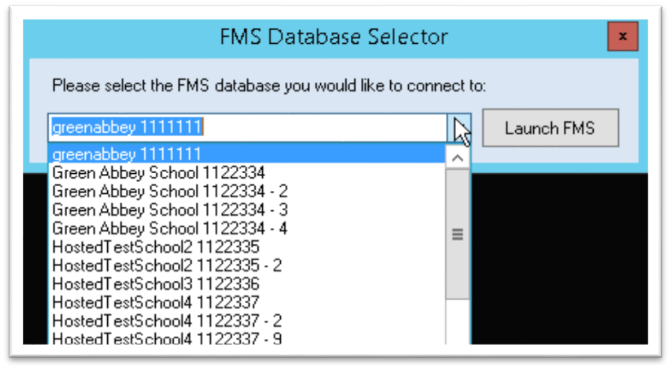
Click on the drop down list and select the school you wish to access and click on OK to launch FMS.